
Hi Everyone! The holidays are in full swing now and as I was starting to decorate, I thought it would be fun to create a Nativity Banner using the new Silk Screen Kit from Silhouette.
 I started with some blank canvas banner pieces , the Full Nativity Child is Born 2 File (SVG, Silhouette) and the Silk Screen Starter Kit. I assembled the silk screen frame according to the directions included in the kit. Next I set up my design in Silhouette so that it could be used in the frame.
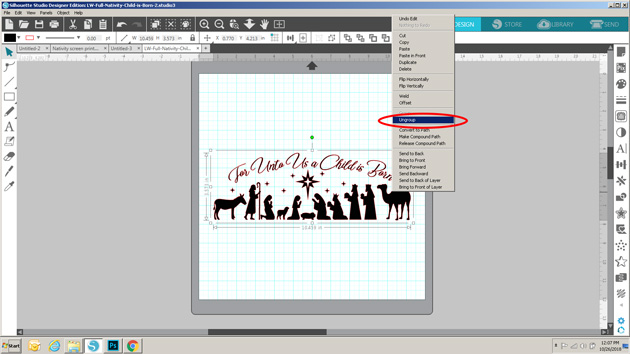
First I ungrouped the file so that I could resize and move around the individual pieces and delete those pieces I wasn't including in the banner.
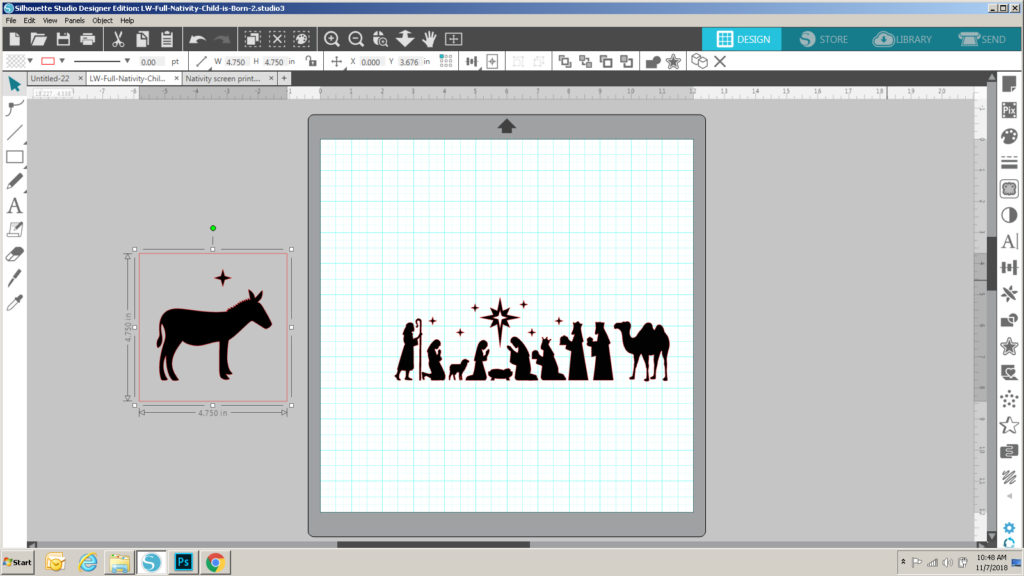
My banner pieces had a design area that was approximately 4.75" square. I drew a square that size on my mat as a guide, to help me re-size each figure in the file so that it fit nicely into the design area.

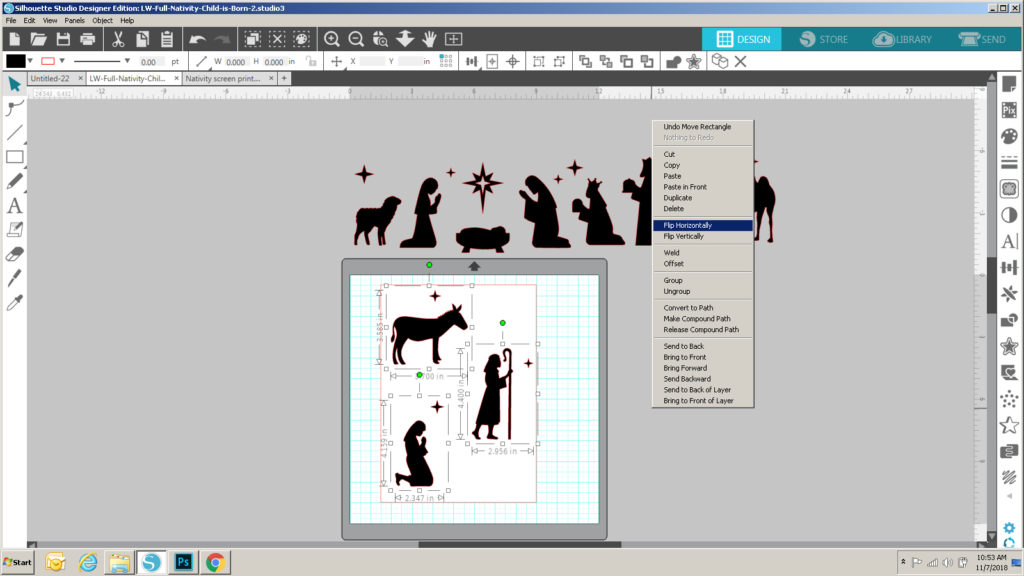
Once they were all resized, I got ready to set them up to be cut. In the directions included with the Silk Screen Kit, it recommends that your design be able to fit into a 10.5" x 7.5" space so that it will fit inside the frame. I drew a rectangle that size on my mat as a guide, and added the shapes. Before grouping the shapes together, I mirrored each of the figures. You always want to mirror when using Heat Transfer Vinyl so that the design is going in the correct way when complete. I ended up with 4 separate files to be cut.

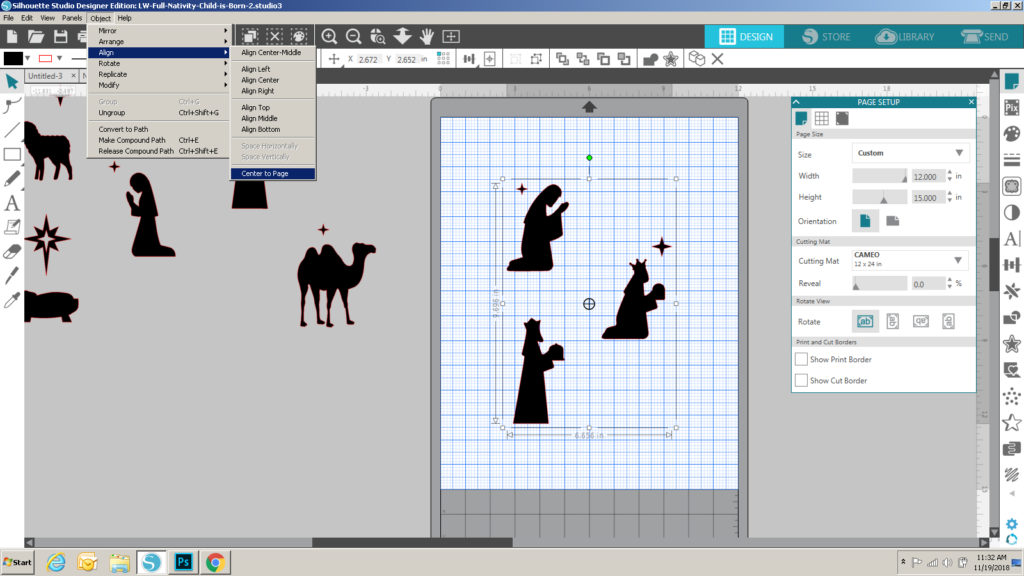
Now I was ready to cut the pieces from the heat transfer vinyl included in the kit. The directions with the kit recommend you center the design to be cut on the full piece of vinyl (the piece is 12"x15".) I decided to use my 24" cutting mat rather than just loading the vinyl directly into Silhouette. I set up my Silhouette to include the 12"x24" mat and changed the page size to 12" x 15". I added one of my designs to the page, and centered it.
Once it was all set up I sent it to cut. The directions called for using a blade depth of 2, but after a few test cuts, I ended up using a depth of 6. I loaded my mat with the vinyl on it (shiny side down) and cut. Once cut, I weeded the actual design (not the extra pieces around the design). Once all were cut and weeded, I ironed each design sheet onto one of the silk screens provided in the kit according to directions, and peeled away the shiny cover layer. Be careful when doing this part. You want to make sure that the edges of each design are firmly ironed onto the screen to prevent any seepage. I found it best to wait for the ironed piece to be completely cool before trying to peel away the extra layer.
Now for the fun part! The actual silk screening! The first step is to prepare the design to be inserted in the Silk Screen Frame.

You want to cut a 2" square from each corner of the design to make it easier to insert into the frame. Place the frame over the design (screen side down), making sure it's centered. Pull up the sides outside the frame and insert the frame brackets to hold the screen in place. Do this for all 4 sides.

For most projects, you would then arrange the framed screen over your fabric, and continue. Since I had multiple designs going on different banner pieces, I centered the banner pieces around the designs on the back of the screen and taped them down.

Placing the screen on a protective surface (to prevent a big mess!) I added a line of ink along one side of one of the designs. Using the squeegee provided in the kit, I scraped the ink over the design. You may need to repeat this process to make sure it's all "filled" in. I did this for each design on the frame, and then repeated the process for the other figures/banner pieces. Once they were done, I let them dry overnight, and heat set them with my iron, using a piece of fabric in between to protect my iron.
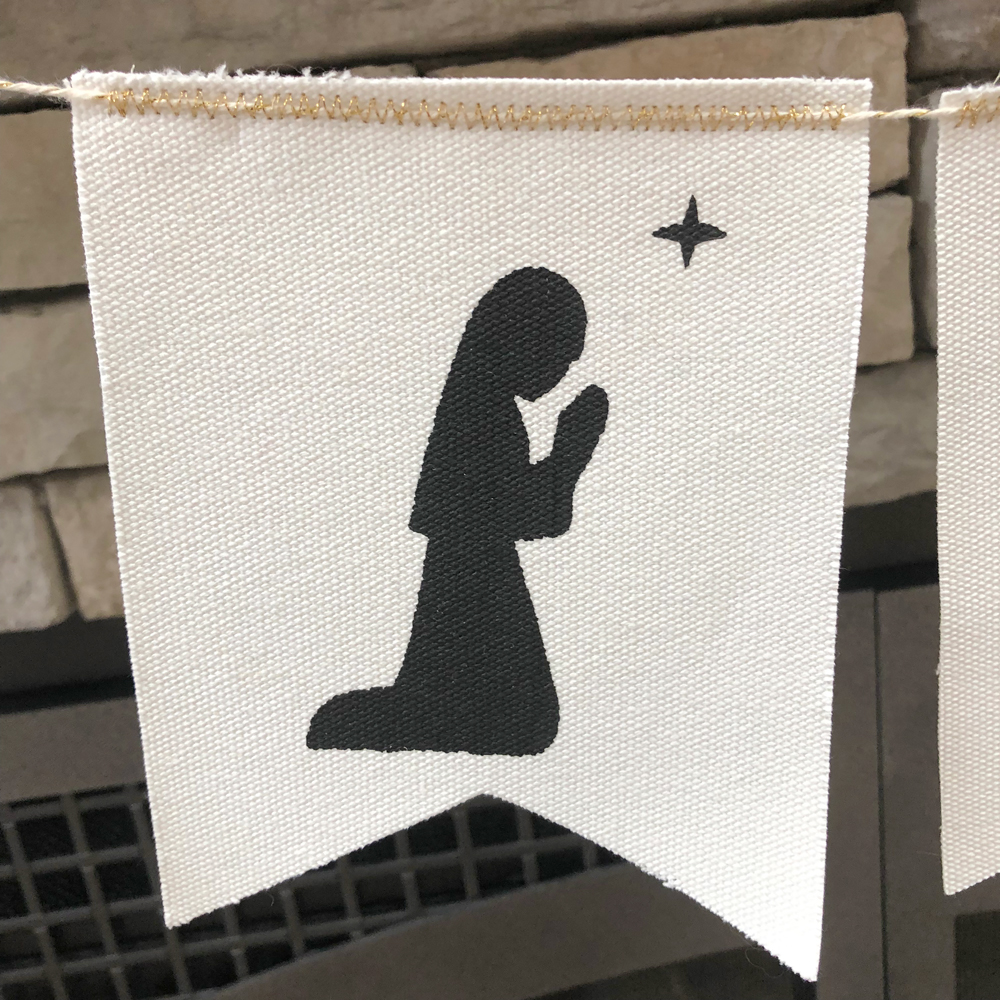
All that was left was to stitch the banner pieces together! I used some gold twine and stitched it down with gold thread using a zig zag stitch. You could also attach the banner pieces to the twine using small clothespins! Here are some close-ups...

That's it for me today, thanks for stopping by to peek!
No comments:
Post a Comment
Thanks so much for your comments, they are much appreciated!