Showing posts with label Christmas. Show all posts

Monday, December 14, 2020

Doodlebug Design | Night Before Christmas Ornaments

Growing up, my grandmother used to give each of her grandchildren a new ornament each Christmas.  Many of those still decorate my tree.  I started the tradition with my own daughter and my niece and nephews, each year I would make them a new ornament.  Now I'm onto the next generation with my great niece.  Every year I try to come up with a new ornament idea.  Last year I took an on-line ornament class from Lori Whitlock.  The ornaments had little scenes under a plastic dome.  I thought it would be fun to make some featuring the icons from the Night Before Christmas Collection.  They turned out so cute!  Take a peek...


I created little scenes using the stickers from the icon sticker sheet, some sprinkles and papers from the 6x6 pad.    I filled a couple with some glitter snow to make mini "snow globes"  and added some doodle twine and tags from the chit chat pieces.  I love how they came out! Here are some close-ups...


These cute little globes are really easy to make and they make such an impact!  I put together a little tutorial below.  
I started by gathering my supplies.  I purchased the plastic domes and glitter snow on Amazon.  For this ornament, I cut a 3" circle from the Snow Magical paper (6x6 pad) and a slightly larger scalloped circle (approx 3 3/8") from the red side of the jolly st. nick paper, and then cut another circle from white cardstock which I trimmed across to be my "roof."  Also included for this ornament are the Santa in chimney and reindeer stickers from the icons sticker sheet.

Glue the snowflake circle centered on the scalloped circle.  Make sure this is centered.
Add some foam tape to the back of the half circle piece and add to bottom of the snowflake circle, making sure it lines up.

Start building your scene... I added some glue and foam tape to Santa, the foam tape is on the top half to help it keep aligned with the already popped up roof piece.  A hint to working with stickers... it's easier to work with them if you make them "unsticky" first.  I use some cornstarch on the backs, but you can also use baby powder.
Add some foam tape to the back of the reindeer and place him next to Santa.  

Make sure none of the stickers are outside of the inner circle.  

Add about 1 tablespoon of glitter snow to the inside of one of the domes.
Add a thin strip of glue around the edge of the inner circle.  I used Zip Dry Glue.  I like it because it holds well and dries clear.  If you get any on the inner circle wipe it away so the snow won't stick.

Add the circles to the dome (while upside down).  Make sure you align the top of your design with the hanger on the dome.

I made a couple of other scenes as well... one with a kitty and tree and another with Santa in the snow. Here is what they looked like before I added the dome and snow.

I've already given one away and it made the recipient very happy!!   You could also use the Night Before Christmas Doodle Stamps to make these fun ornaments.   If you make any please be sure to tag Doodlebug on Facebook and Instagram.  We always love to see your creations!

DOODLEBUG PRODUCTS USED
Night Before Christmas Collection
Doodle Twine
Buffalo Check-Woodgrain 6x6 pad
Doodlebug Sprinkles

OTHER
Silhouette Cameo
Foam Tape
Zip Dry Glue

Monday, December 2, 2019

Doodlebug Design | Christmas Magic Mason Jar Card

 During the holidays, I like to bake for my neighbors and close friends, but time doesn't always allow me to bake as much as I'd like!  Perfect solution... a jar full of Doodlebug Christmas Magic!  I designed this fun Mason Jar Box Card and filled it with some of the candy and gingerbread Chit Chat pieces!  How "sweet" is that?!  Take a peek..


Here's a side view... 


I completed the card with a little tag from the Christmas Magic 6x6 pad...


Now for the fun part!  I've created an SVG file for the Mason Jar Card Base and it is available exclusively in the Lori Whitlock SVG Shop here!  The file only includes the Jar card base, you can fill it with almost anything!  It's pretty easy to assemble, I've outlined the steps below.


1.  Start by cutting the pieces of the file.  You will need a transparency sheet for the front of the card.  They are widely available in Office Supply Stores and on-line.
2.  Glue the darker grey cardstock pieces behind the jar covers.
3.  Glue the jar frame to the transparency jar.
4.  Glue the single cover to the background jar piece.

5.  Fold the score lines on the bottom piece.  Fold the longest strip in half along the score line and glue onto the base towards the center.  This is the piece to which you will glue your jar "fillings."
6.  Attach the front and back Jar pieces to the base as shown.  Make sure the edges are flush so that it will stand properly.
7.  Glue the attached jar lids to the backside of the jar back, making sure the covers are aligned.
8.  On the left is the card ready to be filled.  On the right are the Chit Chat pieces I used to fill my jar.

9.  I started by attaching a few of the gingerbread men together using foam tape between the layers to give them some dimension.
10.  Add some adhesive to the feet of the gingerbread men and glue them to the strip on the base.
11.  Add some Candy pieces to the back of the jar using foam tape for dimension.
12.  To add more items, I cut 2 of the 1" scored strips, and added some candies to them.

13.  Glue the bottom of the strip with the candies and attach to the base of the jar in front of the gingerbread men.
14. Repeat step 12 with another gum drop
15.  Add that strip to the jar base as in step 13.
16.  Once all of your pieces are in the jar, add some adhesive to the back of the front jar lid and attach up and over the front jar piece.  I also tied on one of little tags from the Christmas Magic 6x6 pad with some Doodle Twine.


This card folds flat and will fit in a 5x7 envelope.  We would love to see your creations using this file and the Christmas Magic Collection.  Be sure to tag Doodlebug Design on Facebook and Instagram so we can see what you've made!  That's it for me today, thanks for stopping by to peek!

DOODLEBUG PRODUCTS USED
Christmas Magic Collection
Dot Stripe Petite Prints Collection
Doodle Twine


OTHER
Transparency Sheet
Foam Tape
Adhesive
Electronic Cutter


Thursday, December 6, 2018

Lori Whitlock | Silk Screen Nativity Banner Tutorial

Hi Everyone!  The holidays are in full swing now and as I was starting to decorate, I thought it would be fun to create a Nativity Banner using the new Silk Screen Kit from Silhouette.

I started with some blank canvas banner pieces , the Full Nativity Child is Born 2 File (SVG, Silhouette) and the Silk Screen Starter Kit.  I assembled the silk screen frame according to the directions included in the kit.  Next I set up my design in Silhouette so that it could be used in the frame.


First I ungrouped the file so that I could resize and move around the individual pieces and delete those pieces I wasn't including in the banner.


My banner pieces had a design area that was approximately 4.75" square.  I drew a square that size on my mat as a guide, to help me re-size each figure in the file so that it fit nicely into the design area.


Once they were all resized, I got ready to set them up to be cut.  In the directions included with the Silk Screen Kit, it recommends that your design be able to fit into a 10.5" x 7.5" space so that it will fit inside the frame.  I drew a rectangle that size on my mat as a guide, and added the shapes. Before grouping the shapes together, I mirrored each of the figures.  You always want to mirror when using Heat Transfer Vinyl so that the design is going in the correct way when complete.   I ended up with 4 separate files to be cut.


Now I was ready to cut the pieces from the heat transfer vinyl included in the kit.  The directions with the kit recommend you center the design to be cut on the full piece of vinyl (the piece is 12"x15".)  I decided to use my 24" cutting mat rather than just loading the vinyl directly into Silhouette.  I set up my Silhouette to include the 12"x24" mat and changed the page size to 12" x 15".  I added one of my designs to the page, and centered it.


Once it was all set up I sent it to cut.  The directions called for using a blade depth of 2, but after a few test cuts, I ended up using a depth of 6.  I loaded my mat with the vinyl on it (shiny side down)  and cut.  Once cut, I weeded the actual design (not the extra pieces around the design).  Once all were cut and weeded, I ironed each design sheet onto one of the silk screens provided in the kit according to directions,  and peeled away the shiny cover layer.  Be careful when doing this part.  You want to make sure that the edges of each design are firmly ironed onto the screen to prevent any seepage.  I found it best to wait for the ironed piece to be completely cool before trying to peel away the extra layer.

Now for the fun part!  The actual silk screening!  The first step is to prepare the design to be inserted in the Silk Screen Frame.

You want to cut a 2" square from each corner of the design to make it easier to insert into the frame.  Place the frame over the design (screen side down), making sure it's centered.  Pull up the sides outside the frame and insert the frame brackets to hold the screen in place.  Do this for all 4 sides.
For most projects, you would then arrange the framed screen over your fabric, and continue.  Since I had multiple designs going on different banner pieces, I centered the banner pieces around the designs on the back of the screen and taped them down.
Placing the screen on a protective surface (to prevent a big mess!)  I added a line of ink along one side of one of the designs.  Using the squeegee provided in the kit, I scraped the ink  over the design.  You may need to repeat this process to make sure it's all "filled" in.  I did this for each design on the frame, and then repeated the process for the other figures/banner pieces.  Once they were done, I let them dry overnight, and heat set them with my iron, using a piece of fabric in between to protect my iron.

All that was left was to stitch the banner pieces together!  I used some gold twine and stitched it down with gold thread using a zig zag stitch.  You could also attach the banner pieces to the twine using small clothespins!  Here are some close-ups...


That's it for me today, thanks for stopping by to peek!

Monday, November 12, 2018

Doodlebug Design | Christmas Town Advent Calendar

The holidays are upon us!  I was so excited to see the new  Doodlebug Design Christmas Town Collection... the little characters and icons are too cute! I thought they would be adorable as part of an Advent Calendar... so I decided to make one!   I worked with my Silhouette Model Maker Software and designed my first SVG file!  I work for Lori Whitlock so she helped me to fine-tune the details.  I'm so happy with the results, and it's even cuter using the new Christmas Town Collection!  Take a peek...


For the tree base and star I used some new Dot-Stripe Petite Prints in Grasshopper and Lemon.  I added the little pockets using some of my favorite patterned papers from the Christmas Town collection including the Festive Flurry, Christmas Cookies, Snow Much Fun, Christmas Jammies, Berry Christmas, and Merry Hearts.  I then decorated each pocket using the Icon Stickers Sheet, Mini Icons, Baby Hearts Shape Sprinkles, Holly Berries Shape Sprinkles, and Festive Flurry Shape Sprinkles.  Here are some close-ups of the pockets...


It's going to be so fun to countdown with this sweet {literally lol} calendar! The tree file is available in the Lori Whitlock SVG Shop and will be available in the Silhouette Store Soon!   Be sure to stop by the Doodlebug Design Blog all week for more Christmas Town Inspiration from the Design Team!  That's it for me today, thanks for stopping by to peek!


Saturday, December 16, 2017

Doodlebug Design: Mix and Match Christmas Tree

Hi Everyone!  I'm up on the Doodlebug Blog today  with my take on the Mix & Match Challenge!  One of my favorite things about Doodlebug collections is that you can always mix and match to fit your project!  I mixed 3 different Christmas Collections to make this fun tree...


To make the tree I used the SVGCuts Heirloom Christmas Tree.  It reminded me of the ceramic tree we used to have growing up!!  The tree itself was made using Tree Festival Double Sided Cardstock from the Milk & Cookies Collection. The base of the tree was made using Holly Days Double Sided Cardstock from the Sugarplums Collection and the plaid paper panels are made from the Holiday Cheer Paper from the 2013 Home for the Holidays Collection.  It doesn't matter that they are 3 different collections spread over 4 years, they all coordinate perfectly!  Here is the tree lit up, (yes, it even lights like the old ceramic tree!) and some close ups of the ornaments I made using some Shaped Sprinkles and Cute Clips!


The star was made from some Sugar Coated Cardstock in Bumblebee.


To make the ornaments, I either wrapped some jewelry wire around the shape or glued the wire to the back.  I used the Sugarplums Shaped Sprinkles, Candy Cane Shaped Sprinkles, Lily White Snowflakes Shaped Sprinkles and some Mini Hearts Cute Clips to decorate the tree.


It looks so pretty all lit up!  Be sure to drop by the Doodlebug Blog next week to get more Mix and Match Inspiration!  That's it for me today, thanks for stopping by to peek!

Monday, December 11, 2017

Lori Whitlock: Gift Card Booklet

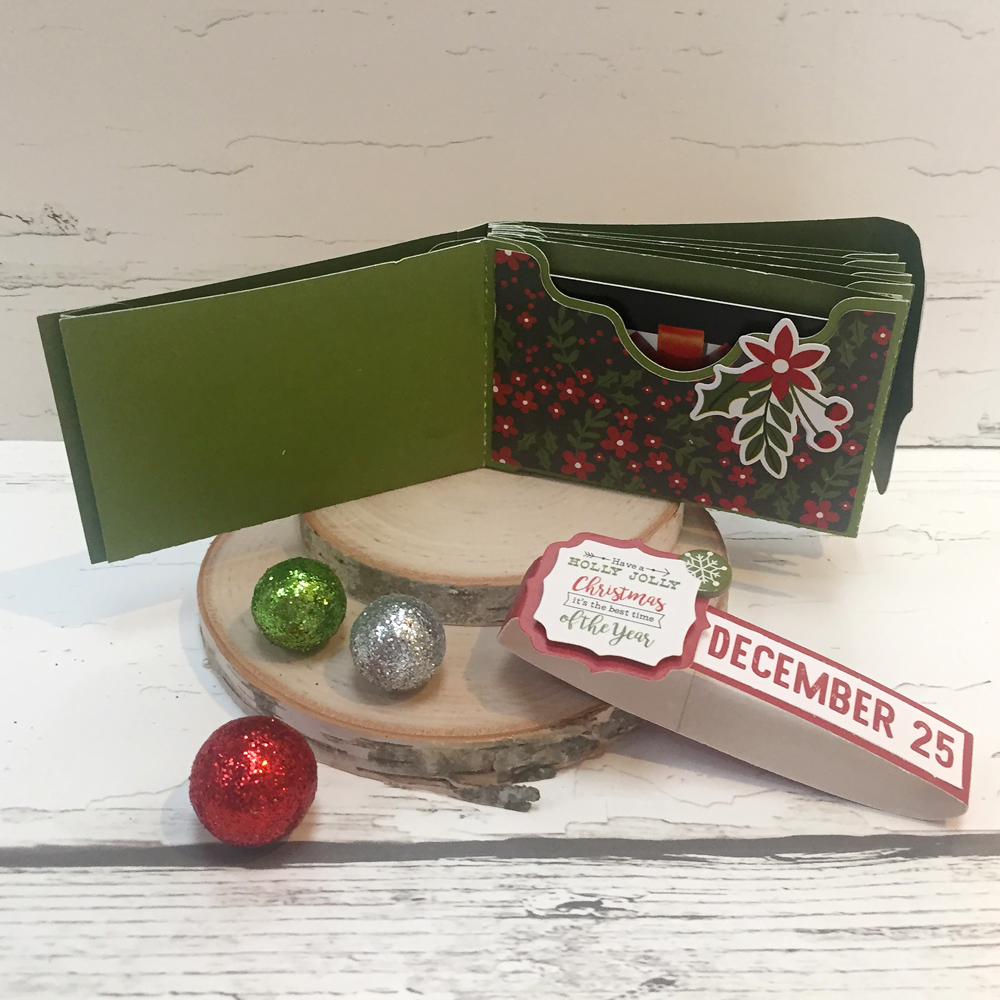
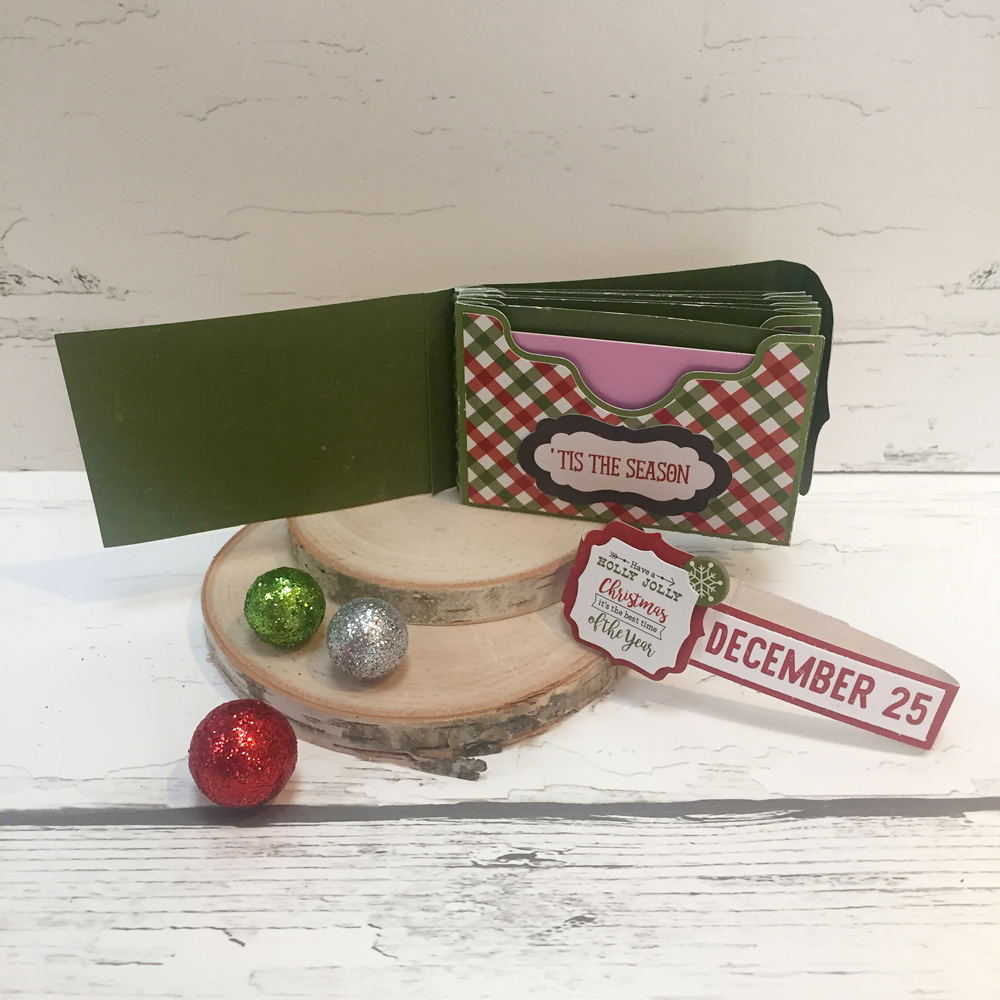
Hi Everyone!  I'm up on the Lori Whitlock blog today with a little gift card booklet I made from a mini album file.  Every year, I give my college girl a few gift cards to her favorite places in a cute little package.  It's one of her favorite Christmas gifts!  This year, I made a fun book using Lori's 4x6 Horizontal Pocket Mini Album Tabbed Pages  (available here in the Silhouette Store) and some papers and embellishments from Echo Park's A Perfect Christmas.  Take a peek....


To make the mini album a better size for gift cards, I had to resize the file.  To do this, I first loaded the file into my Silhouette.  Next, I ungrouped the file and deleted the tabbed pages since I was not using them.  I then regrouped the remaining pieces.  To size them I drew a rectangle on my mat measuring 3.5" x 2.25" which is slightly larger than a standard gift card.  I placed the rectangle over the base of one of the gift card pockets and clicked on the upper right corner of the grouped shapes and dragged down until the pocket size was close enough to the rectangle size.


This sized all of the pieces perfectly!  Here are some close-ups of some of the inside pages...


I added a belly band to the book to keep it closed since it was a little thick once the cards were inserted.  To do this I simply cut a 0.5" strip of colored paper from a 12" x 12" paper and wrapped it around the book.  I trimmed the extra and secured the band with my tape runner.  Now to finish my shopping and fill it all up!  That's it for me today, thanks for stopping by to peek!


Thursday, November 30, 2017

Lori Whitlock: CuttingClasses.com Christmas Village

Hi Everyone!  Did you know that Lori Whitlock has started up a new website CuttingClasses.com?  This fabulous site will have project based classes for both Silhouette and Cricut with step by step videos and exclusive projects!  Her first class, Christmas Village is live Today!


The class has everything you’ll need to make this festive village!  You get all cutting files needed to make the project, a PDF/supply list and video instruction. In the videos Lori will walk you through every step to make this Christmas Village with your Silhouette or Cricut Cutting Machine.  The class is self-paced so you can watch the videos at your own leisure and you’ll have access to it FOREVER. This class is offered exclusively through Lori's brand new online classroom at CuttingClasses.com.  I got to play with the files a little early.  I created this sweet village using papers from Doodlebug Design.


Each of the houses can be lit with a small electric tea light.  The class also includes cut files for the trees and snowmen.  The whole project actually folds flat to fit in a storage box, which is included with the cut files!  Here are some close-us of the individual houses...


It looks so cute and festive all lit up on my hutch!  The class is now live on CuttingClasses.com.  Register now to make this adorable village.  
Click HERE to register for the Silhouette Class
Click HERE to register for the Cricut Class 
That's it for me today, thanks for stopping by to peek!