Showing posts with label Doodlebug Design. Show all posts

Friday, January 20, 2023

Doodlebug Design | Day to Day Collection August Calendar

Have you enjoyed the Design Team's Day to Day inspiration?  There are so many ways to use this collection... you can use it as a planner, a way to document your memories... they would even make a fabulous calendar gift with photos for friends and family!  I'm completing our posts with the month of August!  Summer is a fun time in our world... we spend our weekends with friends and family on the water! Again, I used the Day to Day collection as a way to document our activities.  Take a peek...


I used elements from the Seaside Summer Collection to embellish my calendar.  I also used my Insta photo trick, as I did on my July Calendar.  It's really easy to get this look.  I printed my photos 1.5" square.  I then cut papers from the Seaside Summer 6x6 pad and some petite prints to be 1.875" x 2.25", and then positioned my photo on the upper part of the paper to get the look.
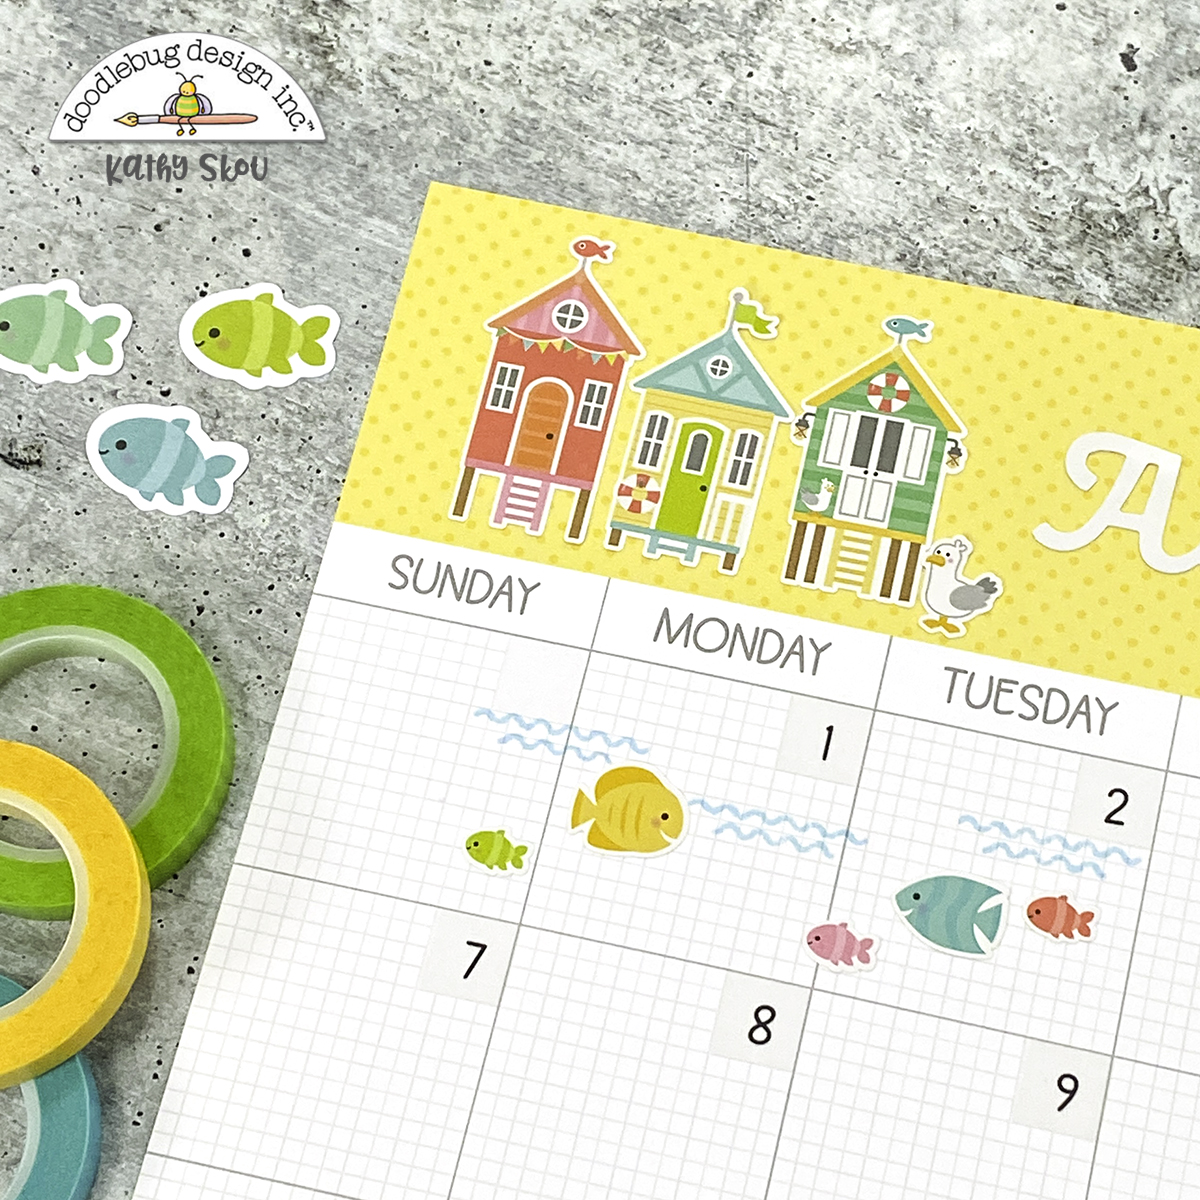

The great part of these calendars is there is a lot of space to "play."  You can decorate the top banner of the page, and also the blank days of your calendar.  I used the water stamp from the Seaside Summer Doodle Stamps and some fish from the Mini Icons to add some fun to the open space.


In addition to the Mini Icons, I used a lot of the Seaside Summer Puffy Stickers to add some dimension to my layout.  That board was the perfect way to embellish the photos of my daughter & her boyfriend paddleboarding!
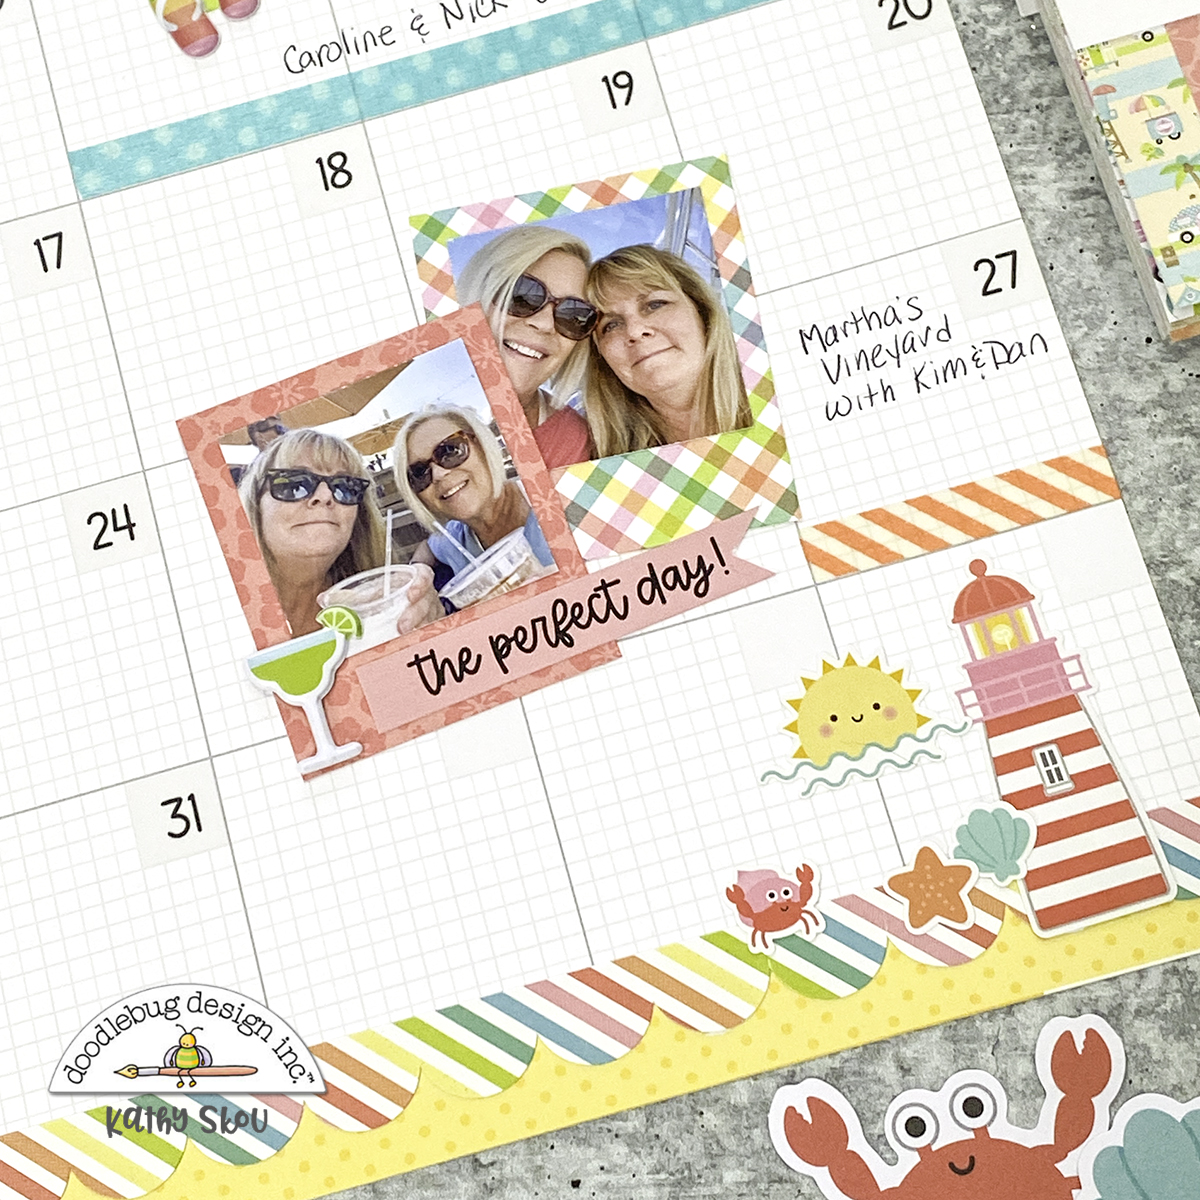

The word stickers on the This and That Cardstock Stickers are perfect as captions for your photos! And that margarita puffy sticker... perfection!


I added a bit more color to the bottom banner using one of the 12" stickers from the This & That Sheet.
I've had so much fun with these calendars. So much so that I'm planning a 2023 album featuring a page a month!  I think it would be a fun way to keep up with my monthly scrapbooking!  That's it for me today, thanks for stopping by to peek!


DOODLEBUG PRODUCTS USED

Day to Day Collection
Seaside Summer Mini Icon Stickers
Seaside Summer Puffy Stickers
Seaside Summer This & That Cardstock Stickers
Seaside Summer 6x6 Pad
Petite Prints
Candy Stipe Washi Tape - tangerine
Stripe Washi Tape - bumblebee
Polka Dot Washi Tape - swimming pool

Monday, January 16, 2023

Doodlebug Design | Day to Day Collection Monthly Scrapbooking

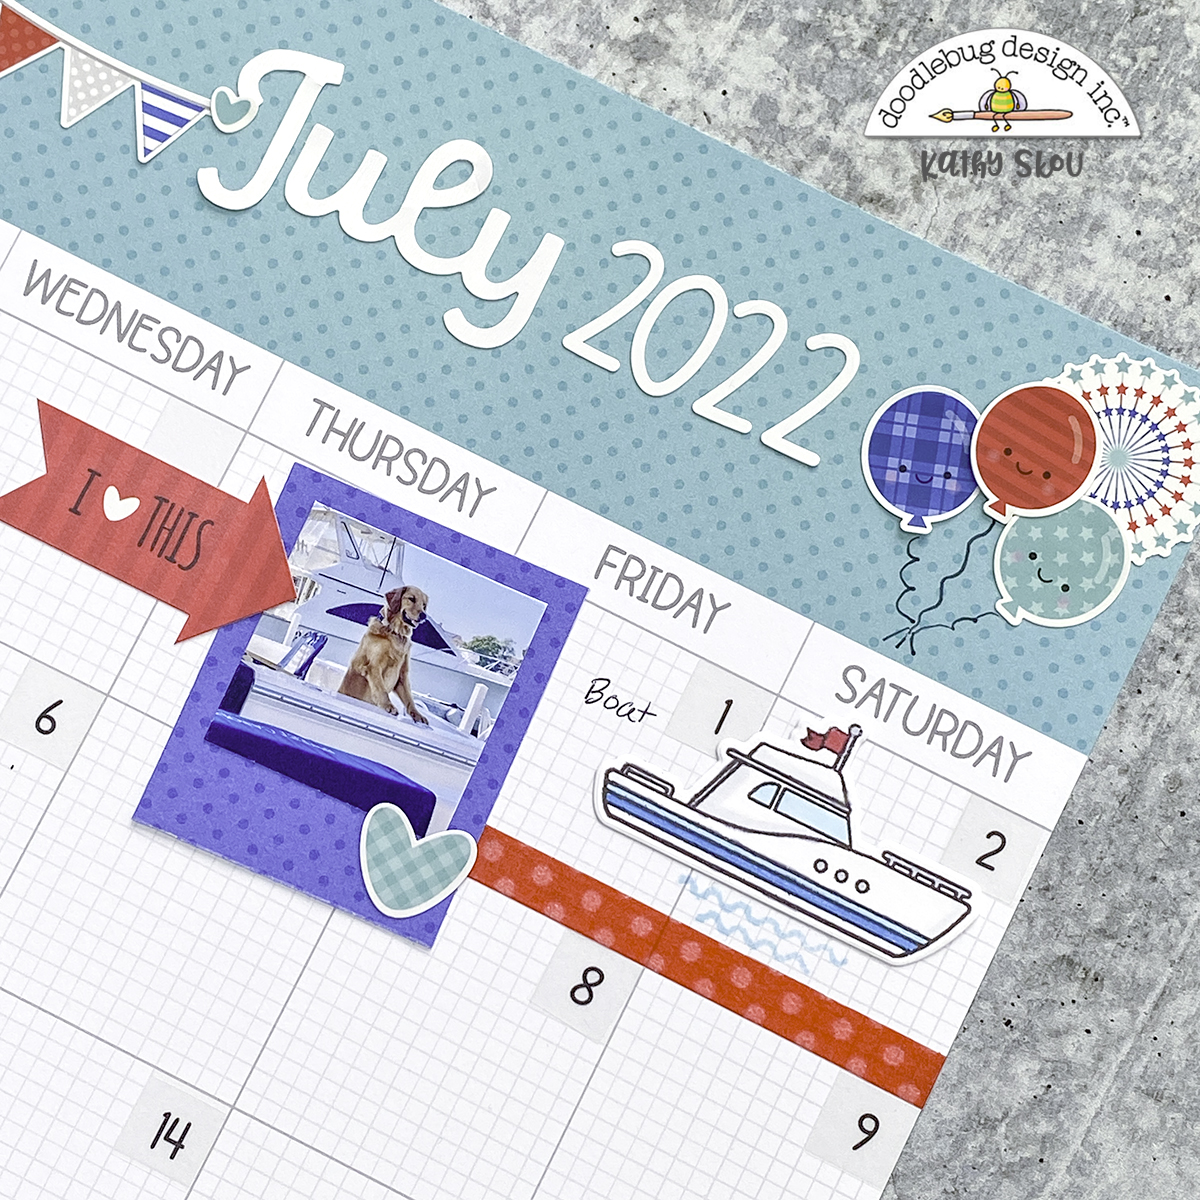
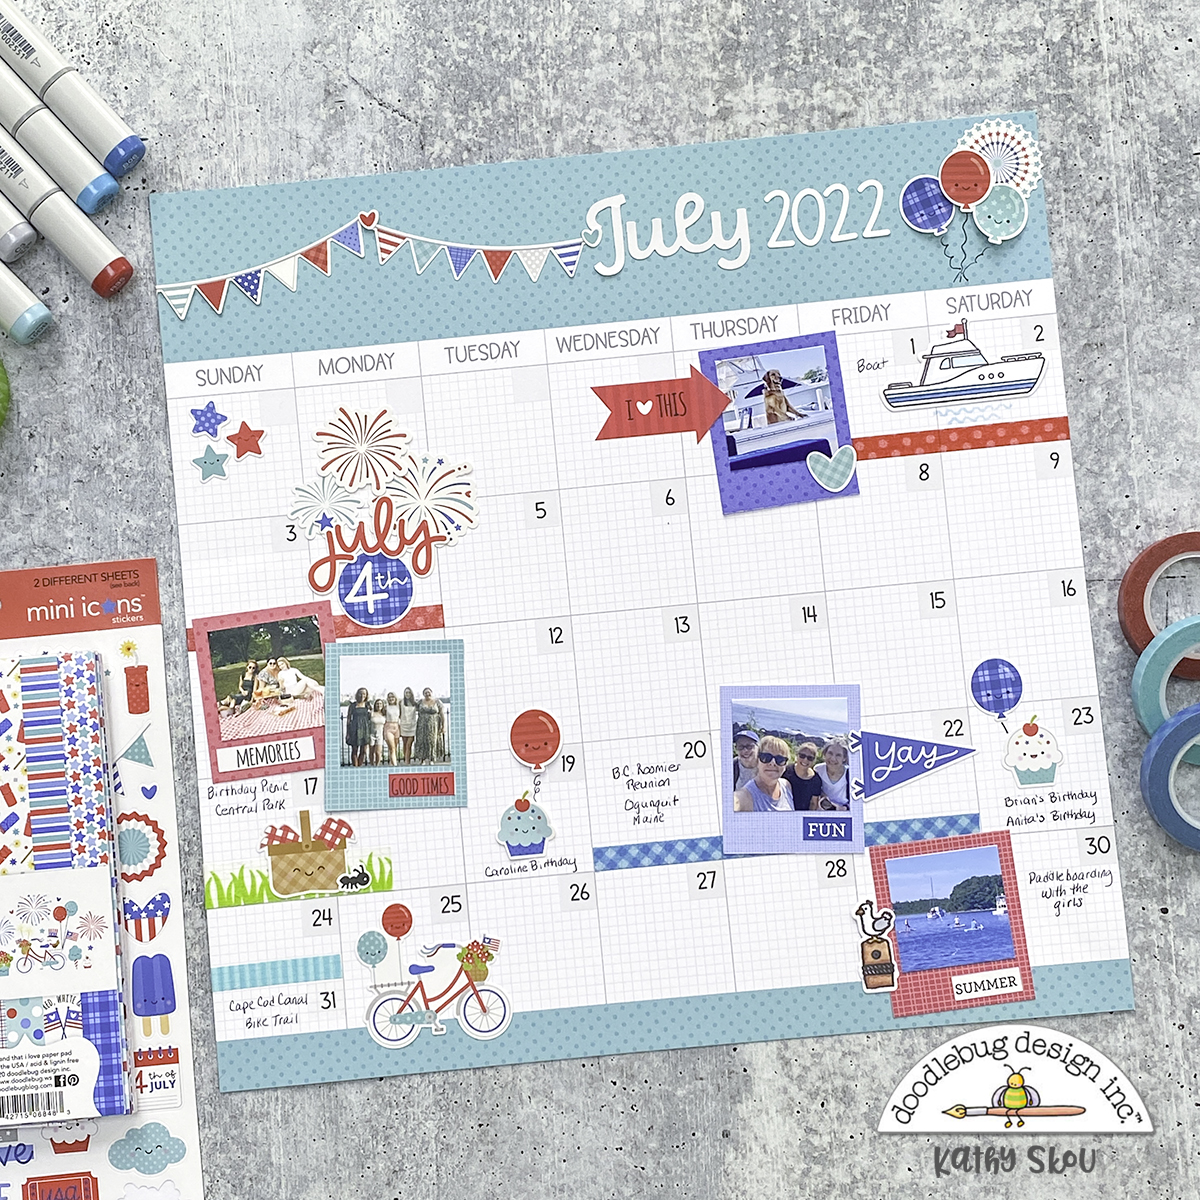
The new Day to Day calendar pages are not only a great way to organize and plan... they also are a fabulous way to document your month!  I opted to create  a scrapbook page layout featuring photos from last July using the Swimming Pool Calendar sheet and some Land that I Love Mini Icon Stickers.  Take a peek....


For my heading I used the new Day to Day Month stickers and numbers from the Sunshine Stickers.  The banners and balloons are from the Land that I Love Mini Icons.


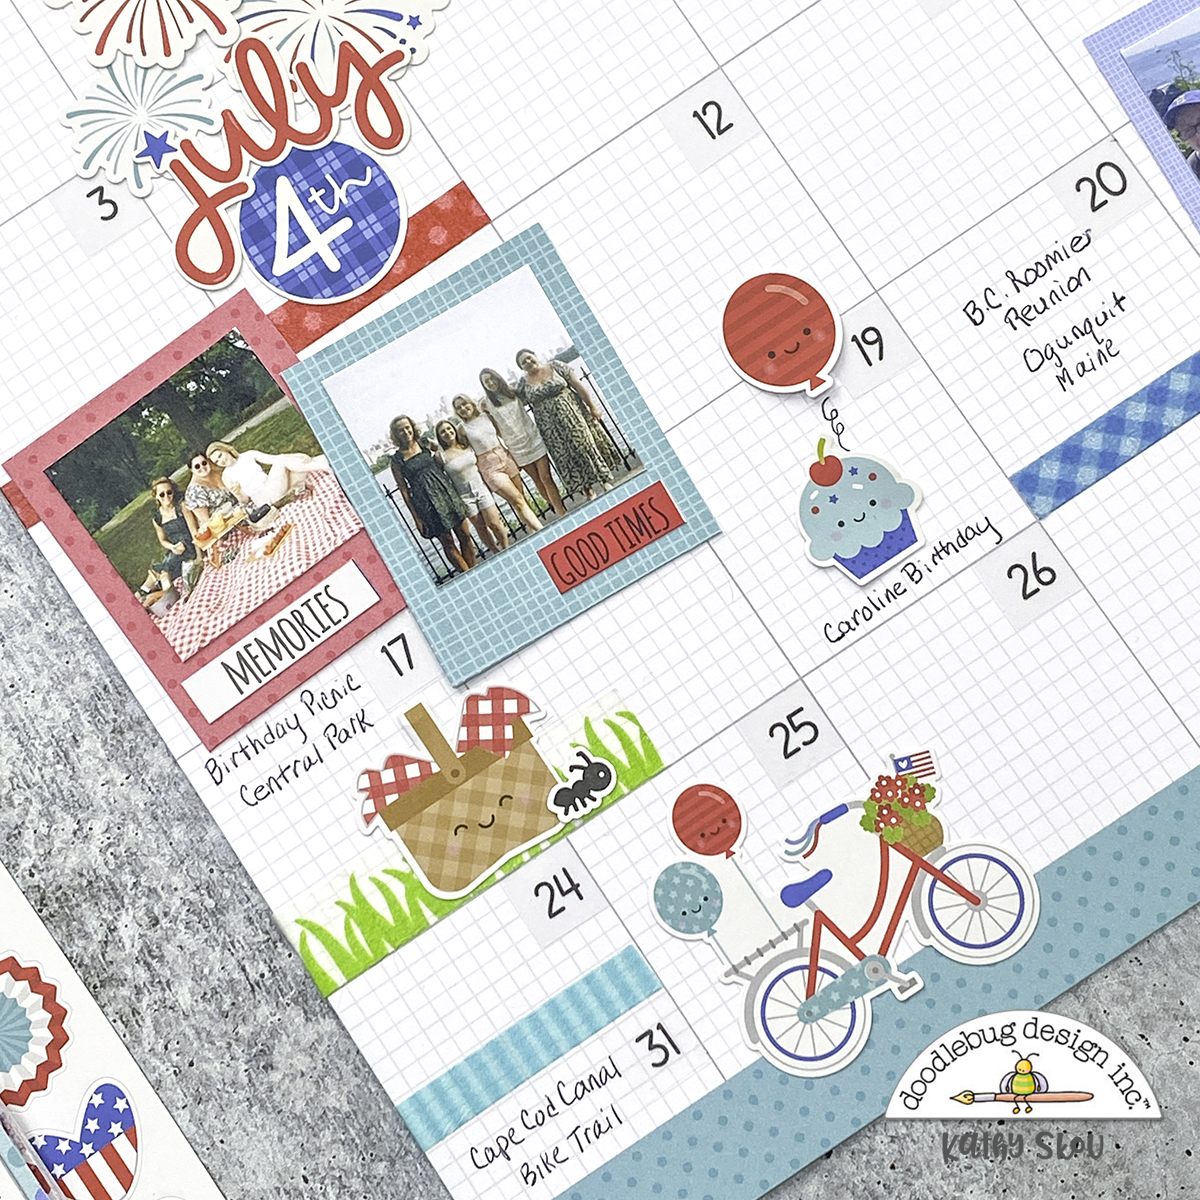
We are big boaters and spend our summer weekends at our marina... so I had to add the cute boat stamped image from the Seaside Summer Doodle Stamps.  I picked some of my favorite photos from the month including this cutie... Parker is our neighbor at our marina.  He's such a good boy!   To create my little insta-photo pictures, I first cut my photos to be 1.5" square.  I then cut some petite prints 1.875" x 2.25" and added my photo leaving more room at the bottom to look like an instant photo.  


In addition to the Land that I Love mini icons... I also used a few mini icons from the Bar B Cute Collection along with some grass washi.  The little picnic basket was perfect to document my daughter's birthday picnic in Central park!  


I used some of the word stickers on the Land that I Love This and That Sticker sheet to label my photos... I love these words!!  Lastly I added one of my favorite characters... Steven Seagull from the Seaside Summer Stamp set. He just makes me smile!

This is such a fun way to keep up with your monthly scrapbooking!  That's it for me today, thanks for stopping by to peek!


DOODLEBUG PRODUCTS USED

Day to Day Collection
Land that I Love Mini Icon Stickers
Bar B Cute Mini Icon Stickers
Sunshine Alphabet Stickers
Seaside Summer Doodle Stamps/Doodle Cuts
Petite Prints
Green Grass Washi Tape
Gingham Washi Tape - Blue Jean
Stripe Washi Tape - Swimming Pool
Dot Washi Tape - Lady Bug

OTHER

Black Ink
Distress Ink
Copic Markers

Monday, January 2, 2023

Lori Whitlock | 5x7 Grid Pop Up Card Penguin

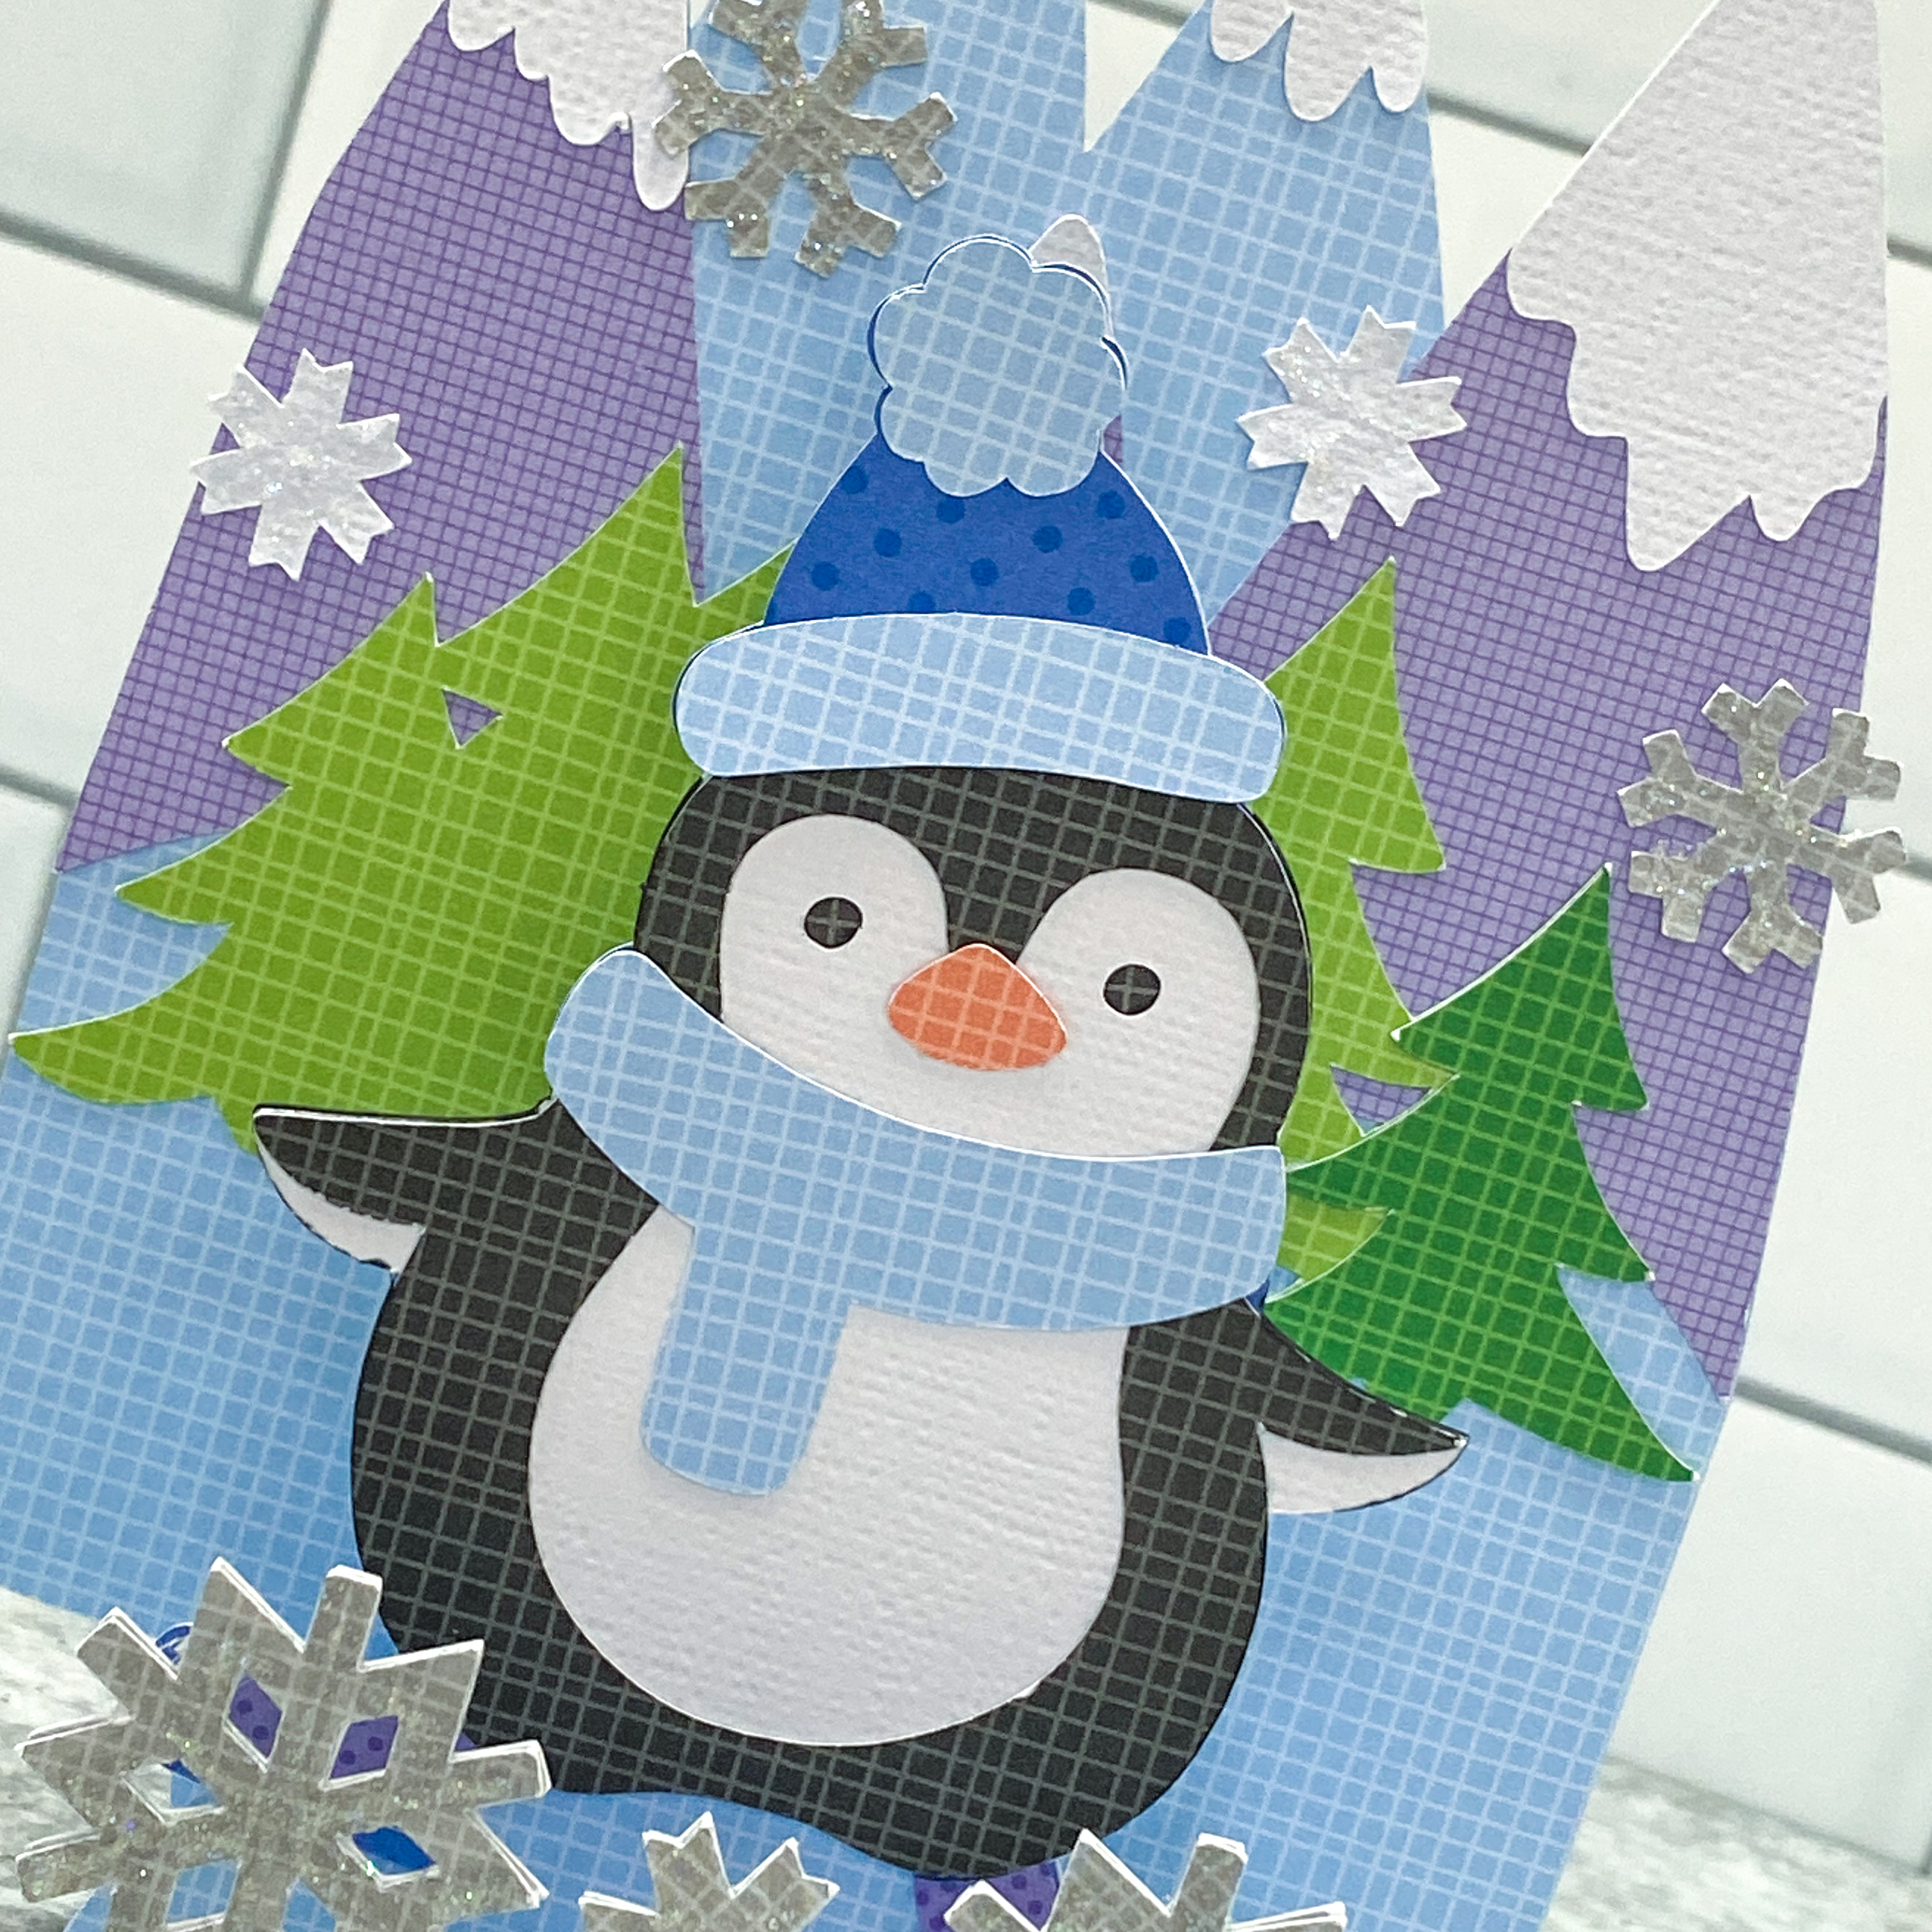
Happy New Year everyone!  Now that all of the holiday presents are opened... it's time to send out some thank you  cards!  Luckily there's a new 5x7 Grid Pop Up Card Winter Bundle in the Lori Whitlock SVG Shop.  Each card comes with two options for a sentiment, one saying Happy Winter, the other saying Thank you Snow Much!  I put together the adorable 5x7 Grid Pop Up Card Penguin (SVG, Silhouette)  Take a peek...


How cute is is sweet face? I added some glitter glaze to my snowflakes to gift my card some sparkle.  The papers are Petite Prints from Doodlebug Design.


These cards fold flat to fit into an A7 (5.25 x 7.25) envelope.

Now to make a whole bunch to send out!  I hope that you all have a happy and healthy 2023!


Monday, December 26, 2022

Doodlebug Design | Candy Cane Lane Happy 2023 Pop Up Card

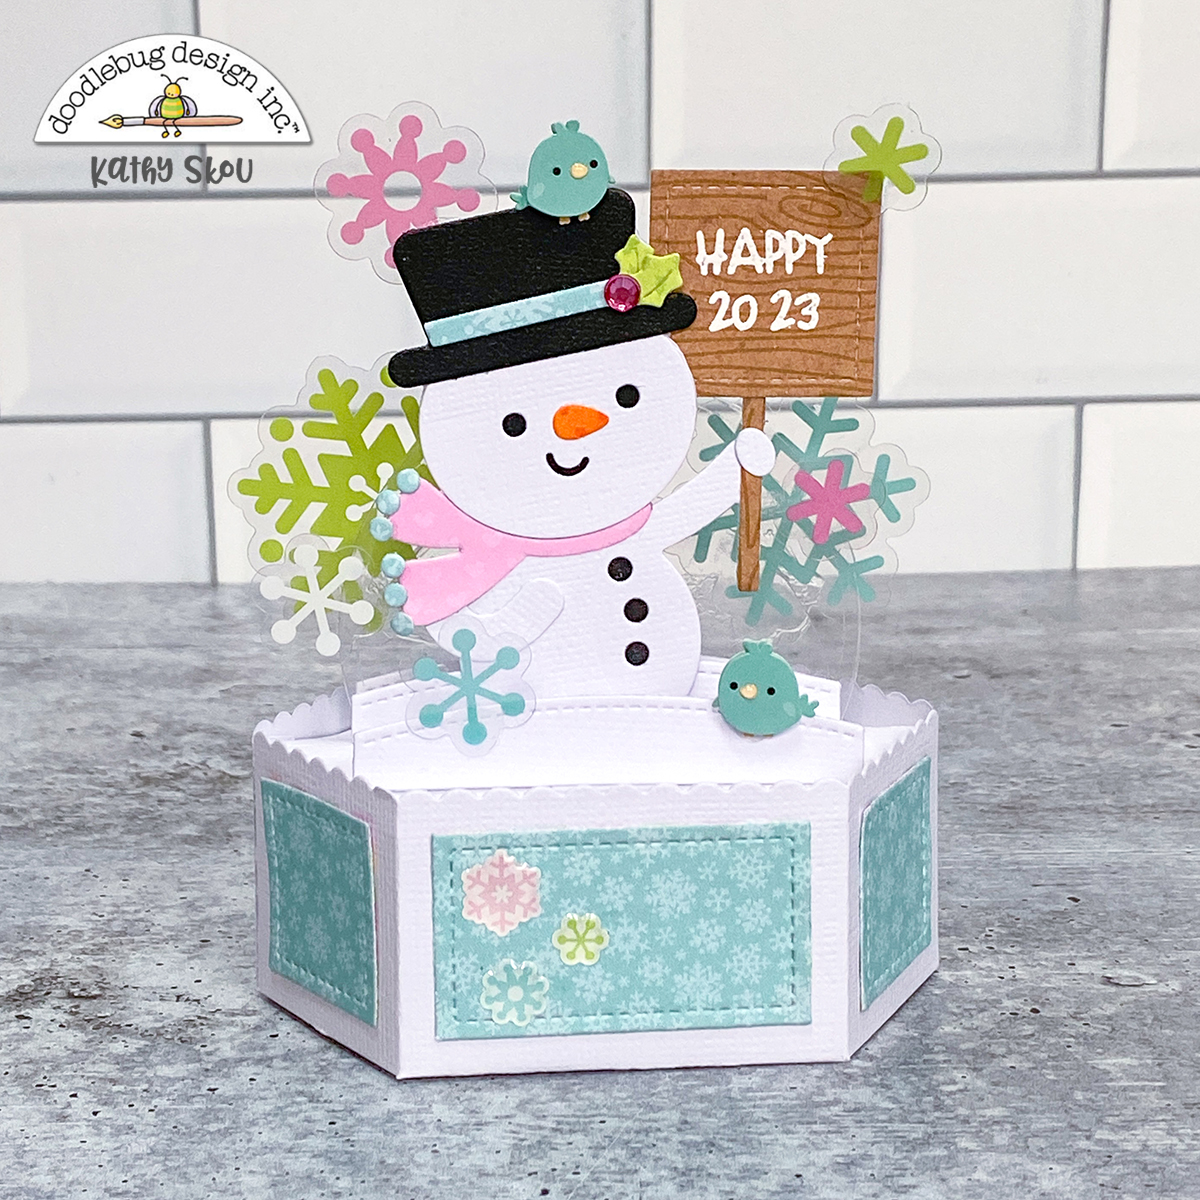
I hope everyone had a wonderful holiday!  We are still in the swing of things with another family party today!  Before the craziness set in I got to play with the Candy Cane Lane Collection.  I knew my project would post after Christmas so I wanted to do a New Year's themed project.  I came up with this fun little snowman pop up card.  Take a peek...


For my snowman, I used the Snow Sweet Doodle Cuts.  I cut off the Christmas tree top of the die cut, and added a little square sign in it's place.  The trunk of the tree worked perfectly as a sign post!


I added some transparency half circles to my card inserts so that I could add a whole "flurry" of the acetate snowflakes from the Bits & Pieces pack.  I love how they look like they're floating.  To attach them I used some clear glaze.  I also added the two birdies from the Love You Deerly Doodle Pop.


The happy on my sign is from the Happy Birthday Doodle Stamp set.  For the year, I used the date stamps from the Handwritten Calendar Doodle Stamps.  I stamped them in white, and added some white embossing powder so they would stand out a bit more.


I finished the base with a few snowflakes from the Frosted Flurry shaped sprinkles.  

I hope that everyone has a Happy and Healthy New Year!  I will be back in 2023 with more Doodlebug goodness! Thanks for stopping by to peek!


DOODLEBUG PRODUCTS USED

Candy Cane Lane Collection
Snow Cute Doodle Cuts
Happy Birthday Doodle Stamps
Handwritten Calendar Doodle Stamps

OTHER

Lawn Fawn Pop Up Platform Card Dies
Liquid Glaze
 Lawn Fawn Stitched Square Die
White Pigment Ink
White embossing powder
Acetate

Monday, December 12, 2022

Doodlebug Design | Candy Cane Lane Advent Calendar Train

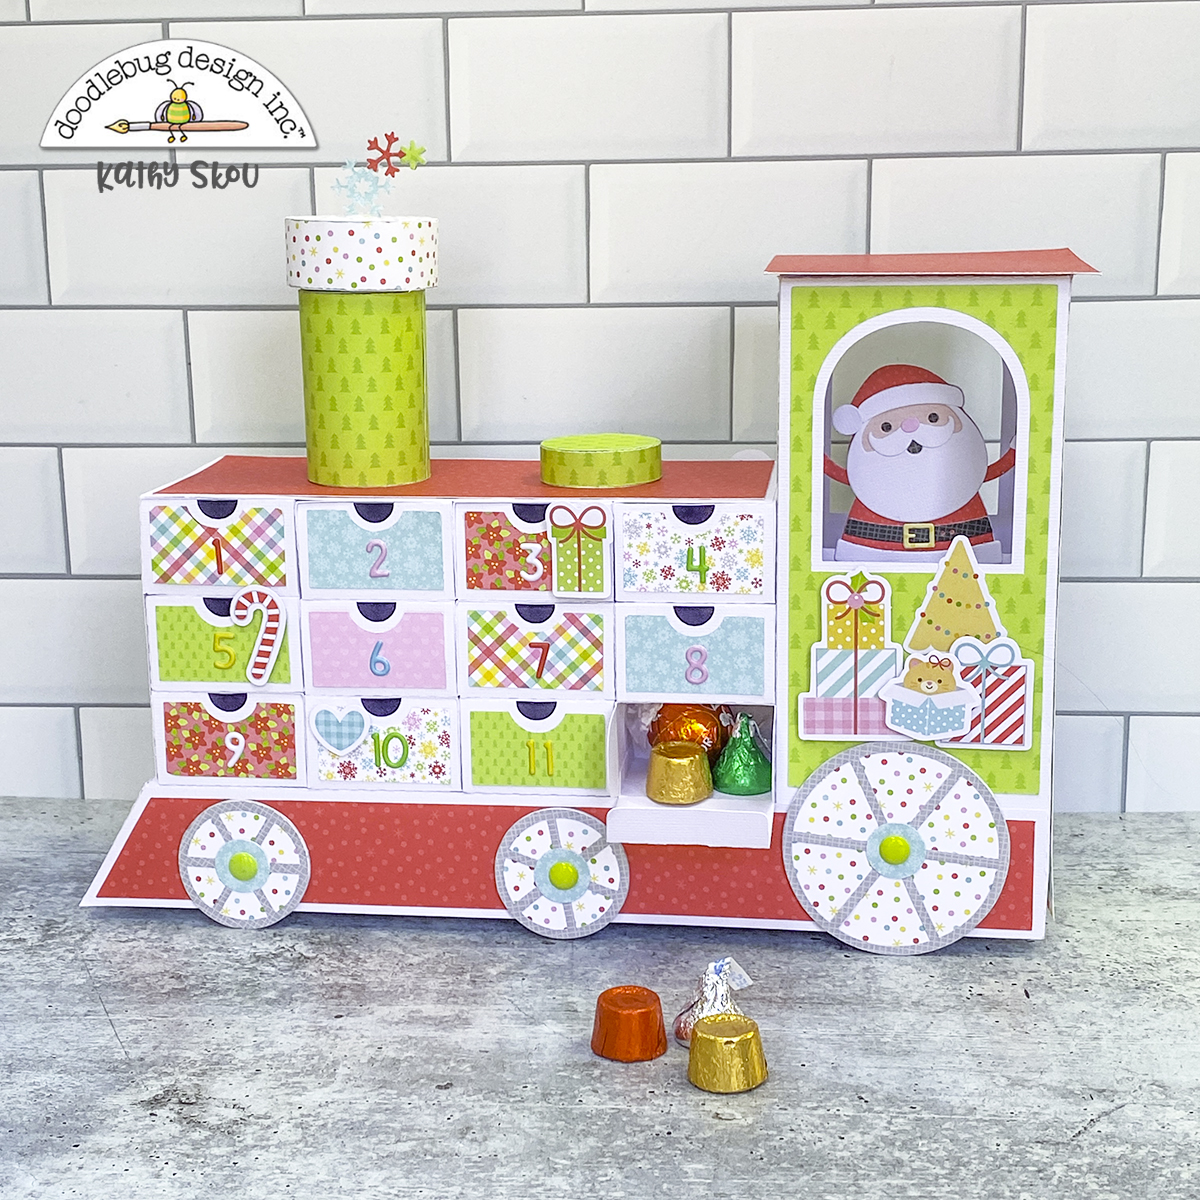
Every year I love making a new Advent Calendar with Doodlebug's Christmas Collection.  This year I worked with Lori Whitlock to come up with this fun train SVG... and I'm so happy with how it turned out using the Candy Cane Lane Collection!  Take a peek...


I started with this SVG file from Lori Whitlock.  I made the base of the train with white cardstock.  I then started decorating with the papers and embellishments from Candy Cane Lane.


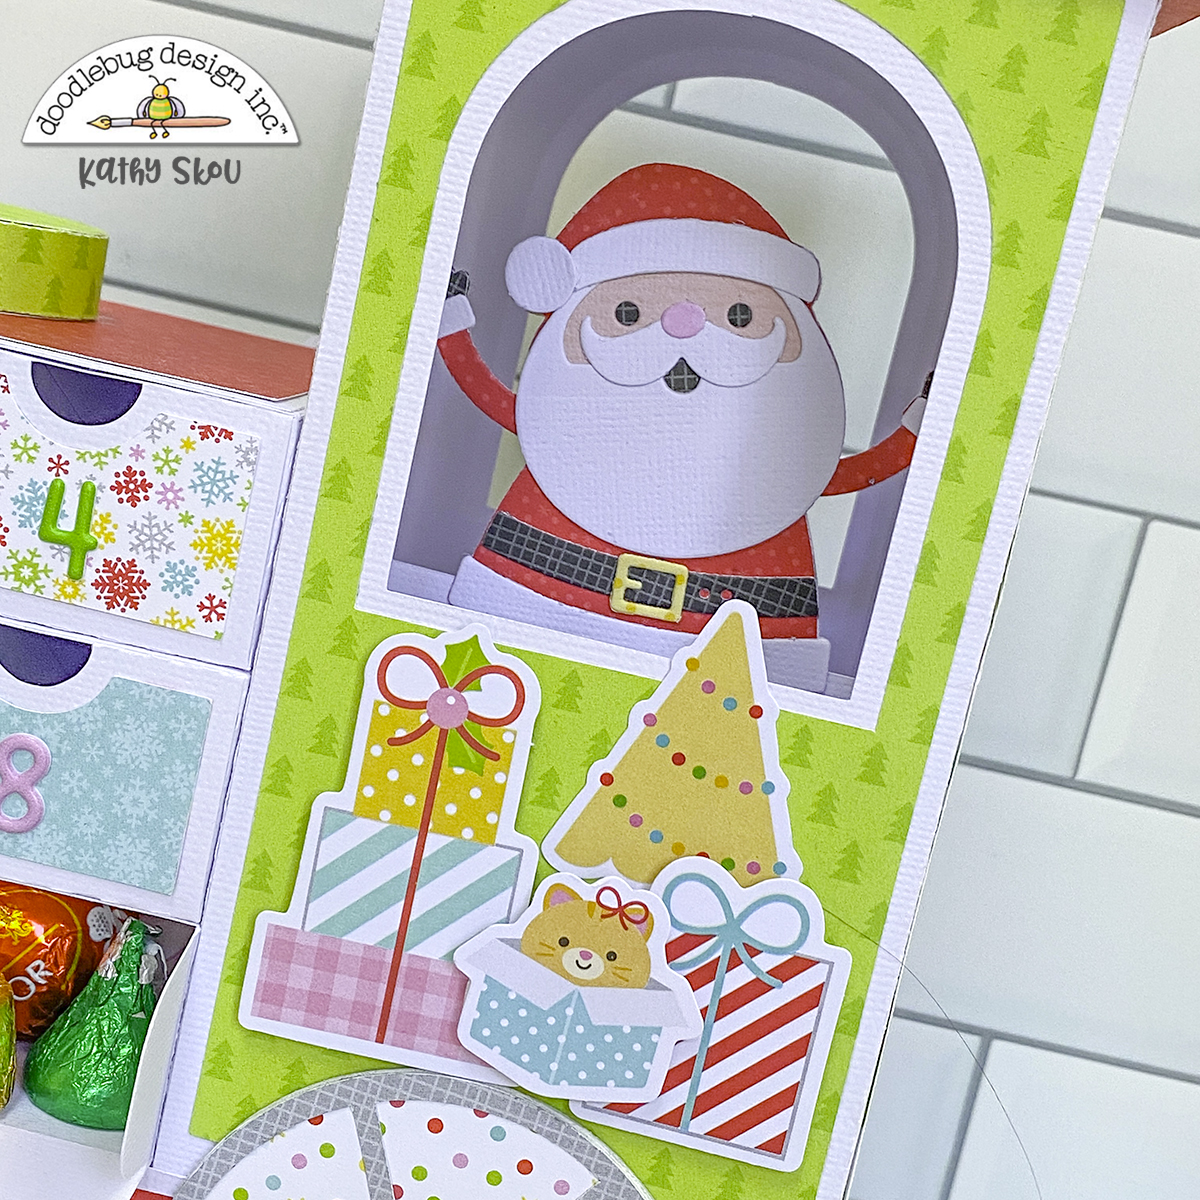
I made Santa the conductor, of course!  I used the Sweet Santa Stand Alone Doodle Cuts to make him.  I also decorated the sides of the conductor's box with cute presents from the Odds & Ends.


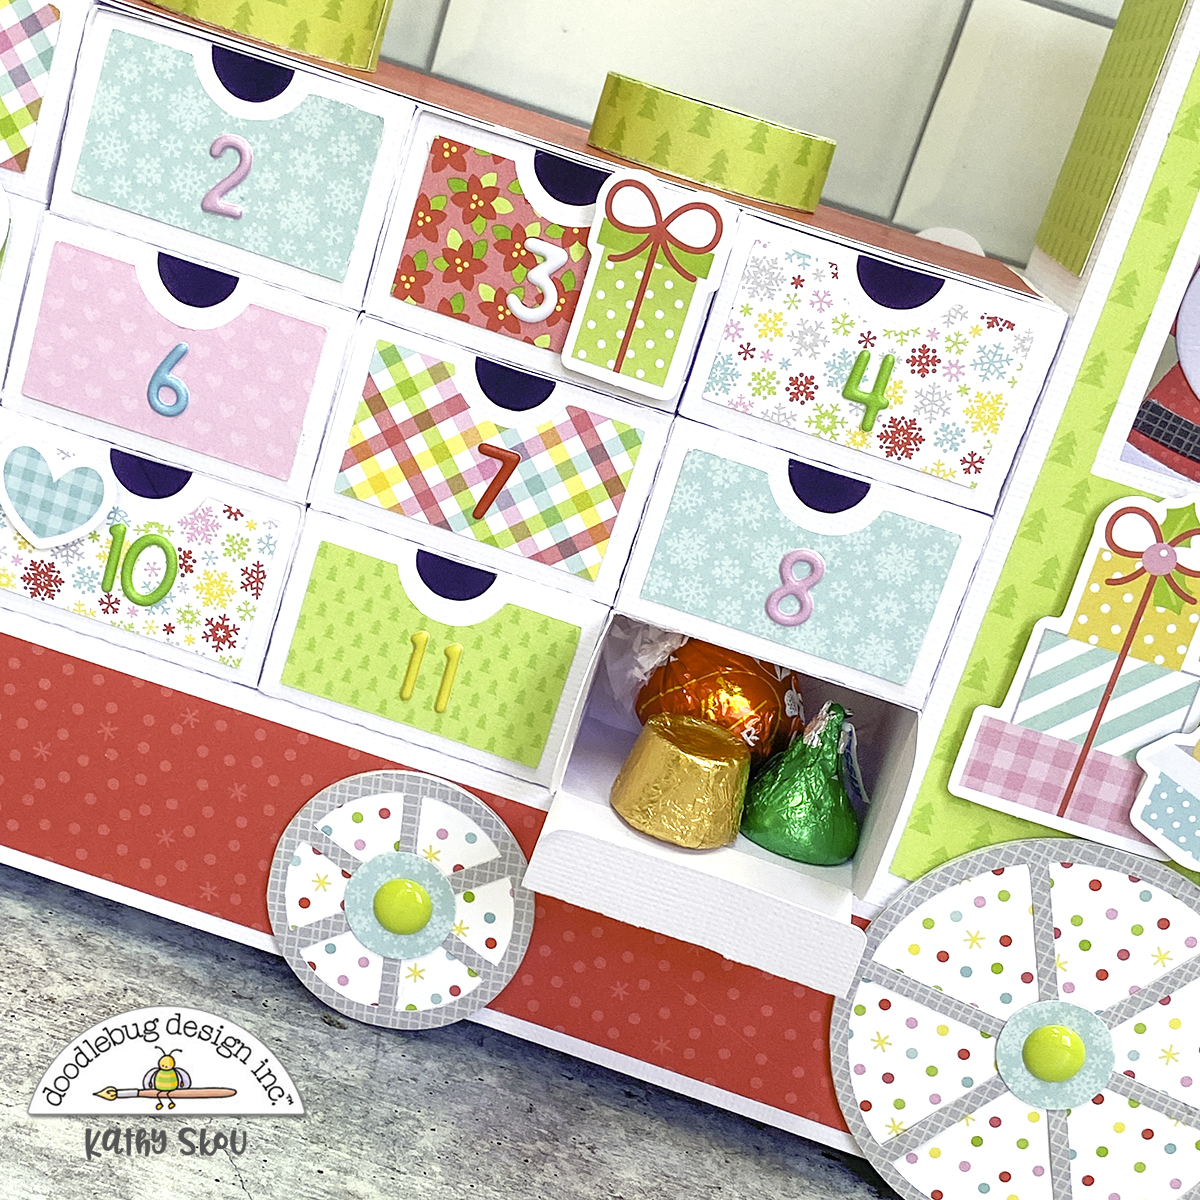
I covered each of the 24 boxes with papers from the 6x6 pad.  I used the new Alphabet Soup Puffy Stickers to number my boxes.  The wheels also have some sprinkles in their centers.  To embellish a bit more, I added more Odds & Ends to some of the boxes.  The boxes are a good size I could fit 3 candies in each.


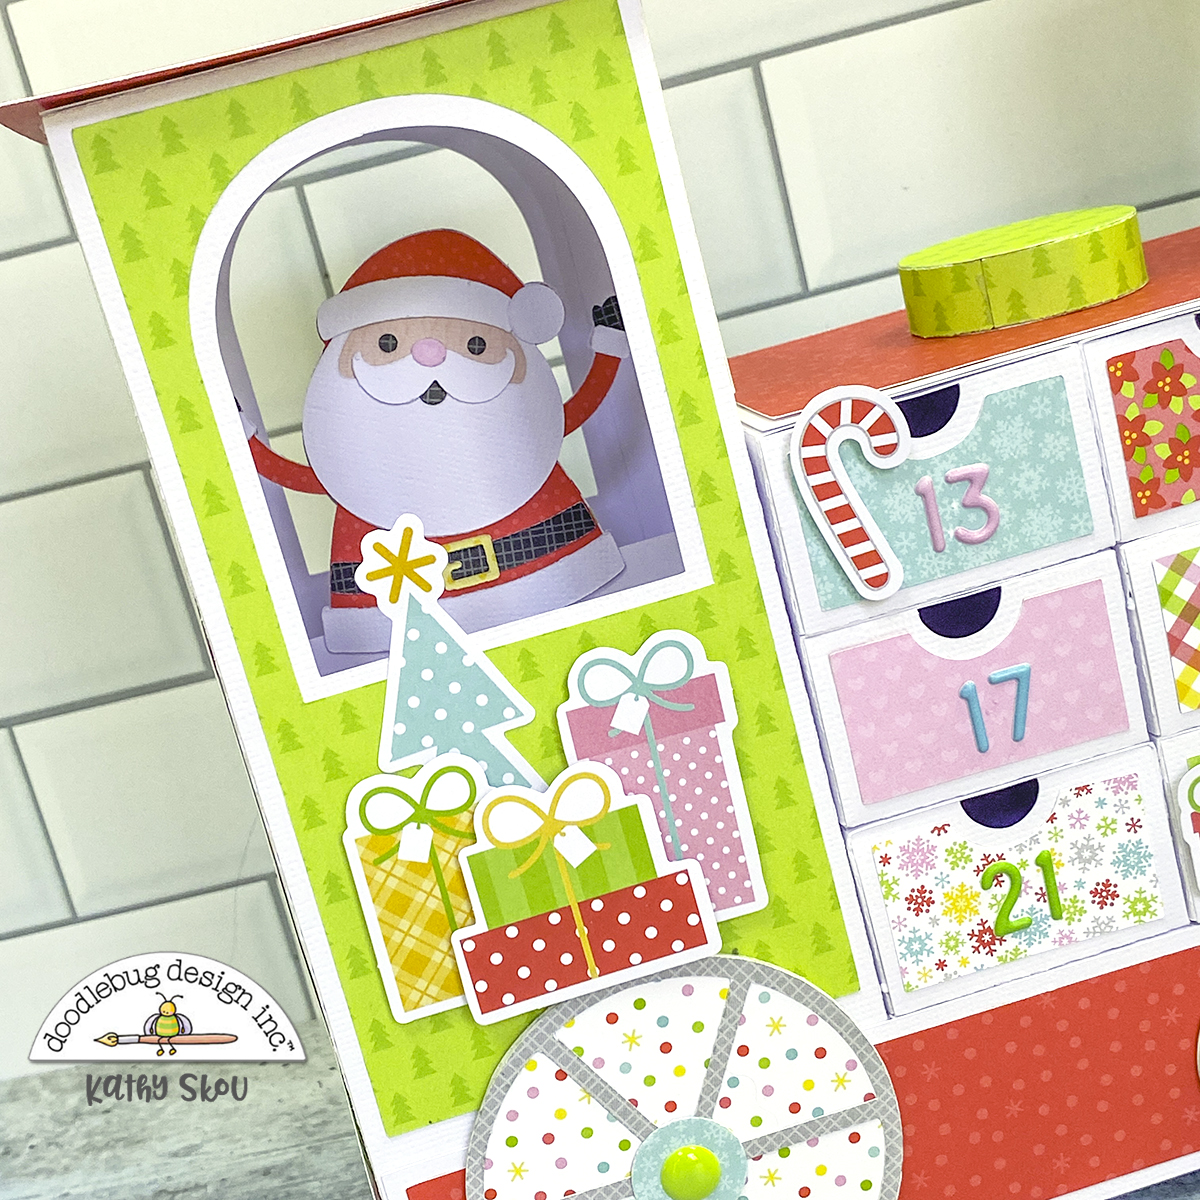
The other side of the train was decorated in the same manner.  I have a fun trick I used to make my Santa show the same from both sides of the train... I cut one Santa and all his pieces from  my papers.  Then, I turned those papers over and cut a second set of pieces.  This gives you a mirror image of your first set to glue back to back so you can have him look the same on both sides!


The front of my train was decorated with a star from the icon stickers sheet and I made some snowflake "smoke puffs" using the snowflake dies in the Snow Cute Stand Alone Doodle Cuts.

Luckily I didn't eat all the candy before it was time to fill the boxes!  That's it for me today, thanks for stopping by to peek!


DOODLEBUG PRODUCTS USED

Candy Cane Lane Collection
Sweet Santa Stand Alone Doodle Cuts
Snow Sweet Stand Alone Doodle Cuts
Petite Prints
Alphabet Soup Puffy Alphabet Stickers

OTHER


Monday, July 11, 2022

Doodlebug Design | My Happy Place Succulent Box Cards

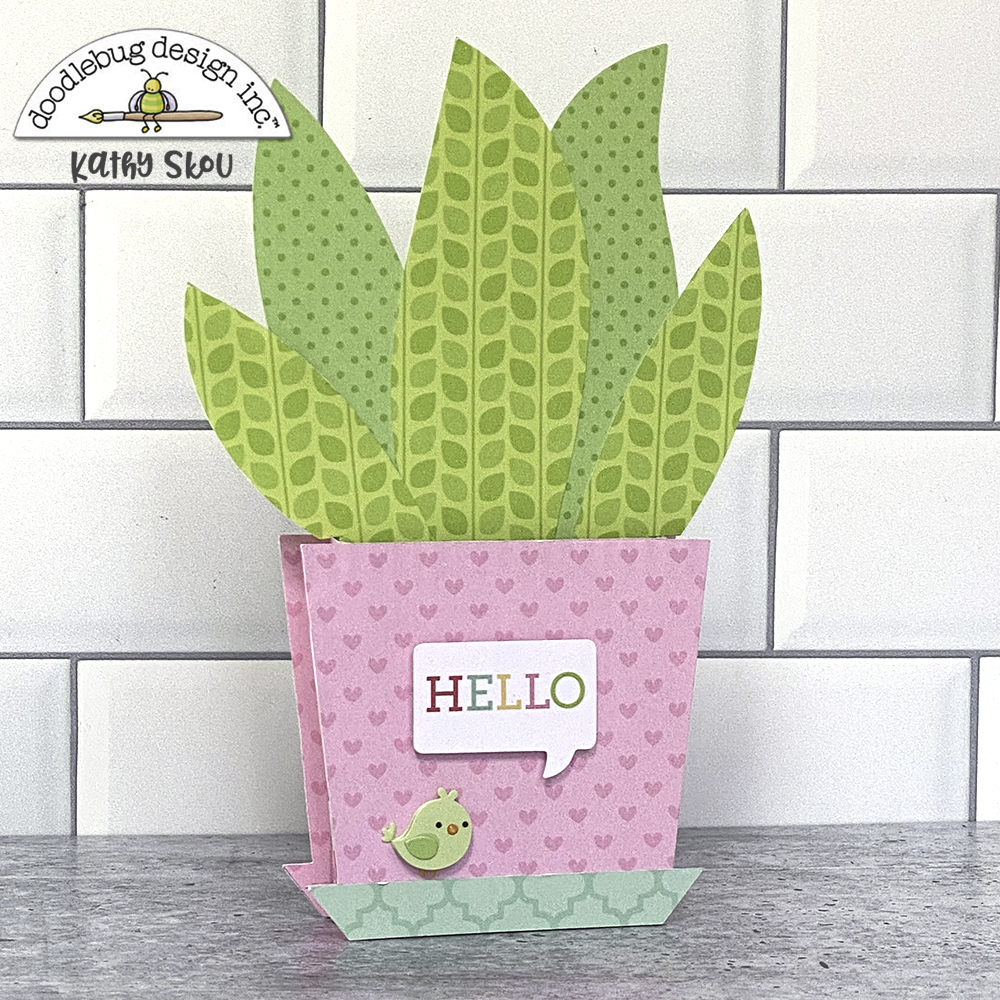
I'm in love with so many icons in the My Happy Place Collection.  Some of my most favorites are the adorable little succulent plants.  They just make me happy!  I decided to turn a couple of them into 3D Box cards.  Take a peek...


I started with the My Happy Place Pot of Succulents SVG from the Lori Whitlock SVG shop.  I thought they would be so cute as cards!  For my first card I used the Love This and Enjoy the Ride papers for my pot.  I pieced together my plant from the Love Grows Here paper and a Petite print from the coordinating petite prints pack.


To complete the card, I added the sweet little birdie from the Home Tweet Home Doodlepop and the Hello speech bubble from the Chit Chat pieces.  I just LOVE that cute bird!


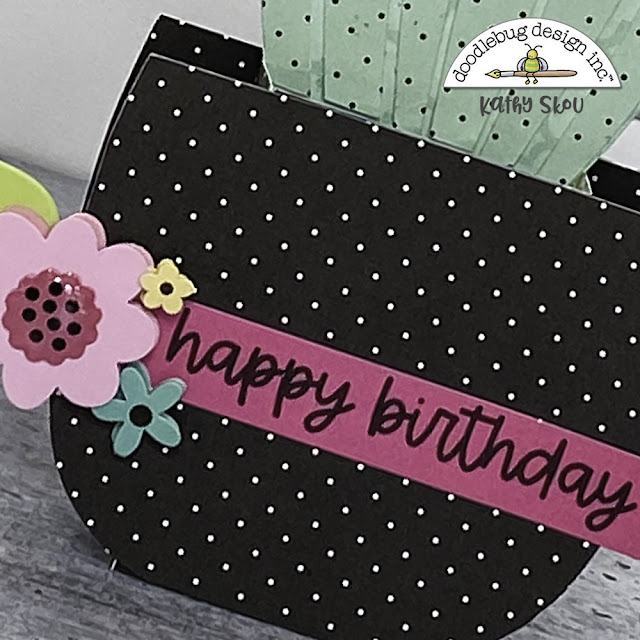
For my next card I used the Cozy Spot cardstock for my pot.  I love the pops of black in this collection, it really makes the other colors shine even brighter!  For my cactus I combined the Enjoy the Ride paper with the Mint to Be paper... again.. the pops of black are fabulous!  I cut the hearts from some papers from the 6x6 pad and a coordinating Petite print.


To finish the card I added the Happy Birthday Banner from the Chit Chat pack and some of the flowers from the Flower Garden Doodle Pop... I know it's a miracle, I actually used 2 Doodlepops!!


These cards are now ready to be mailed off!  Have you created any projects with the My Happy Place Collection or cut files?  Be sure to tag Doodlebug Design on Facebook and Instagram... we love to see what you create!  That's it for me today, thanks for stopping by to peek!


DOODLEBUG PRODUCTS USED

My Happy Place Collection

OTHER

Silhouette Cameo
Adhesive/pop dots


Monday, June 27, 2022

Doodlebug Design | My Happy Place Stamped Pop Up Cards

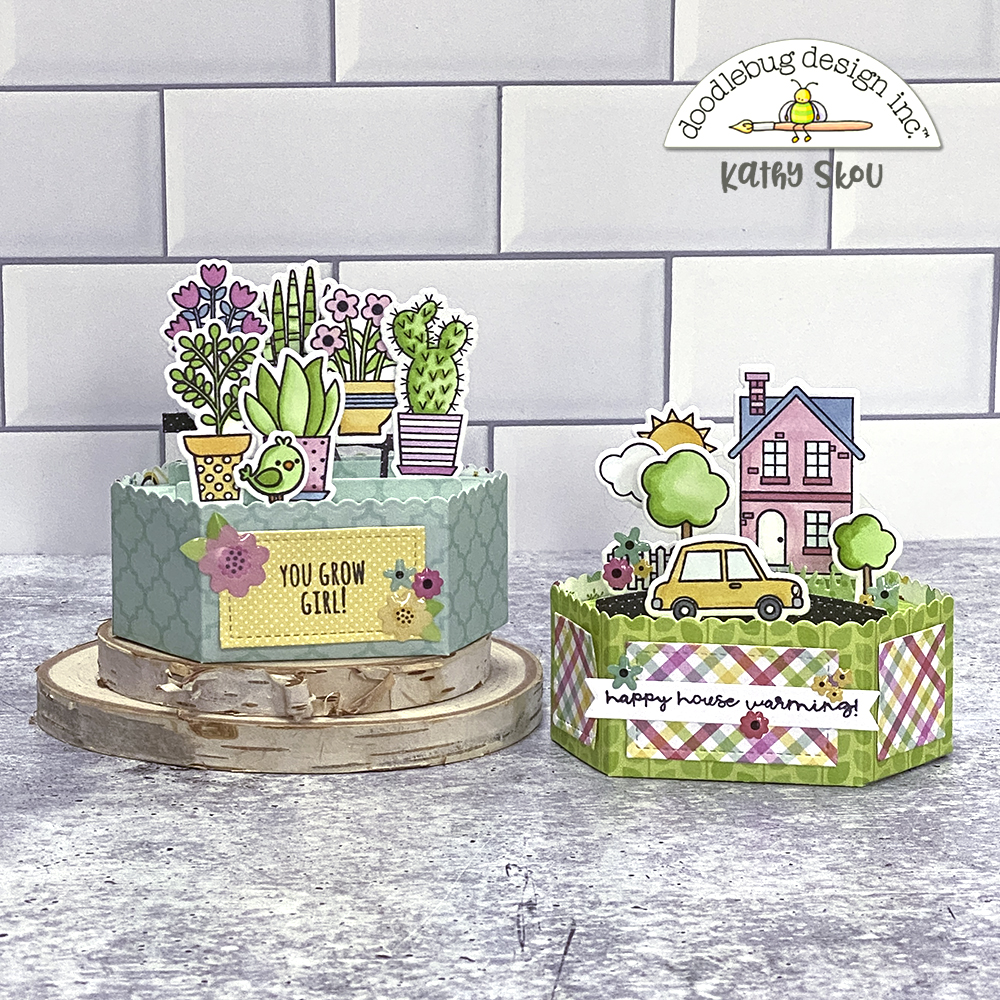
Have you seen the stamp sets that are part of the My Happy Place Collection?  There are 2 new ones... Happy Home and Garden Girl.  They are full of super cute images!  As soon as I saw them I knew I had to make a couple of fun pop up cards.  Take a peek...


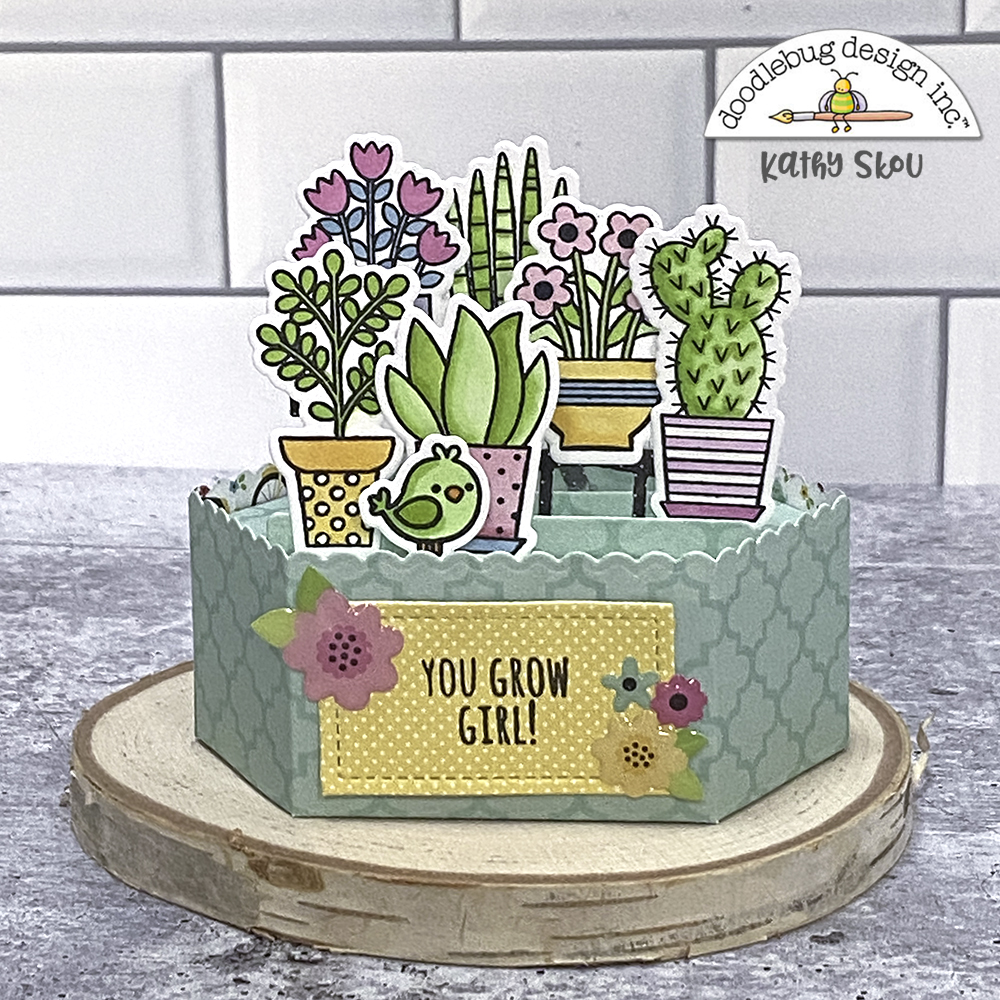
I started with the Garden Girl Doodle Stamps.  I love all of the fun plants!  They make me think of my dad's green house!  I made the base of my card with the blue side of the Enjoy the Ride paper.  I stacked my plants on some cute little benches, and then added the birdie.  I love the "you grow girl" sentiment!  I added a few of the In the Garden shaped sprinkles to complete the look.


For my next card, I used the Happy Home Doodle Stamps and Doodle Cuts.  I have friends moving into a new house, and thought this would be a fun card to help celebrate their new "happy" place.  I made a little scene with one of the houses, some trees, the fence and that adorable little car.  I added more of the In the Garden shaped shaped sprinkles .


I just love that little car!!!  Have you made any projects using the new stamps?  Make sure to tag Doodlebug Design on Facebook and Instagram.  We always love to see your creations!  That's it for me today, thanks for stopping by to peek!

DOODLEBUG PRODUCTS USED

My Happy Place Collection
My Happy Place Coordinating Petite Prints

OTHER

Lawn Fawn Platform Pop Up Dies
Lawn Fawn Banner Die
Copic Markers
Acetate


Monday, June 13, 2022

Doodlebug Design | My Happy Place Birdcage Card

The new My Happy Place Collection is so much fun!  (How could I not love it when my blog is named the same!) The colors, the icons.... and the cut files!  If you know me, you know I love Doodlebug's cut files, and When I saw the Bird in Cage file I immediately had an idea for a fun box card.  Take a peek.... 

I turned the flat birdcage into a 3D shape, where the little birdie hangs down!  In addition to using some papers from the collection, I also added some of the flowers from the Bits & Pieces pack.  These flowers are perfect to embellish just about anything!  I also used the perfectly punny sentiment from the Chit Chat pack.


To make the cage stand up, I added 2 thin strips of cardstock, folded into a box shape to the top and bottom of the cage pieces, then I layered the back piece of the cage so they were centered. To attach the bird, I glued a strip the same thickness as the top and bottom boxes and about 1" wider than the folded box.  I scored glued the bird and his perch to the center, then folded back about 1/2" on each side of the strip and glued the folded sections to the side of the box on the top.  This way he hangs freely.

Since the top and bottom "box strips" are centered and the same size, the card can fold flat for mailing.  I thought this would also make a darling anniversary or wedding card.  You could create another birdie, mirror image and add it to the perch with his friend!

Have you created any projects using the My Happy Place Collection or cut files?  Be sure to tag Doodlebug Design on Facebook & Instagram.  We love to see what you create!  That's it for me today, thanks for stopping by to peek!

DOODLEBUG PRODUCTS USED


My Happy Place Collection
My Happy Place Coordinating Petite Prints
Buffalo Check/Woodgrain Petite Prints (Cherry, Gray)
My Happy Place - Bird in Cage SVG

OTHER

Silhouette Cameo
Adhesive/Pop Dots

Monday, May 30, 2022

Doodlebug Design | Special Delivery & Bundle of Joy Shadow Box Kits

There's not much more special than a new baby... unless it's two new babies!  My cousin and his wife are expecting twins... a boy and a girl!  We are all so excited for them!  Of course, as soon as I saw the new Shadowbox Insert Kits for Special Delivery and Bundle of Joy I knew I had the perfect gift for the new parents!  I set to work immediately!  Take a peek....


Some close-ups....


These insert kits are super easy and fun to put together.  They come with all of the stickers, jewels and sprinkles you need, along with a fabulous guide.  You just need to add some pop-dots and foam strips.  I love the Scrapbook Adhesives 3D Foam Squares and 3D foam Strips.  They are the perfect size and width for some of the more delicate stickers. 

To start, you will want to trim the included vellum piece to be 8"x 8".  Then using washi tape (or very low tack tape) center the vellum over the template and secure.  Now for the fun part, embellish! I find it easiest to start with the jewels.  


Next I add the shaped sprinkles which are noted on the template with an "S".  If there's an X with the S, it means to use a foam dot on that sprinkle to pop it up.


Once the sprinkles were done, I added the stickers.  Some stickers are flat while others are popped up... as indicated by an X on the template.  I find it easiest to do all the flat stickers first, then the popped up ones.


This is where the thin pop up strips come in handy.  They can be cut to fit the smallest pieces. Of course you can use any type of foam tape or pop dots.


Once you've got all the stickers done, just check to make sure you haven't missed any spaces.


The kit also comes with a piece of white cardstock to back the vellum.  I trimmed that to be 8"x 8", and added it behind the vellum in the frame.  You can also use patterned paper if you prefer.

These shadowboxes were a big hit with the parents to be... I can't wait to see them in the nursery!  That's it for me today, thanks for stopping by to peek!


DOODLEBUG PRODUCTS USED
Shadowbox Insert Kit - Bundle of Joy
Shadowbox Insert Kit - Special Delivery

OTHER
Scrapbook Adhesives 3D Foam Squares
Scrapbook Adhesives 3D Foam Strips
8x8 shadowbox frames - Michaels

Monday, May 16, 2022

Doodlebug Design | Down on the Farm Triple Easel Card

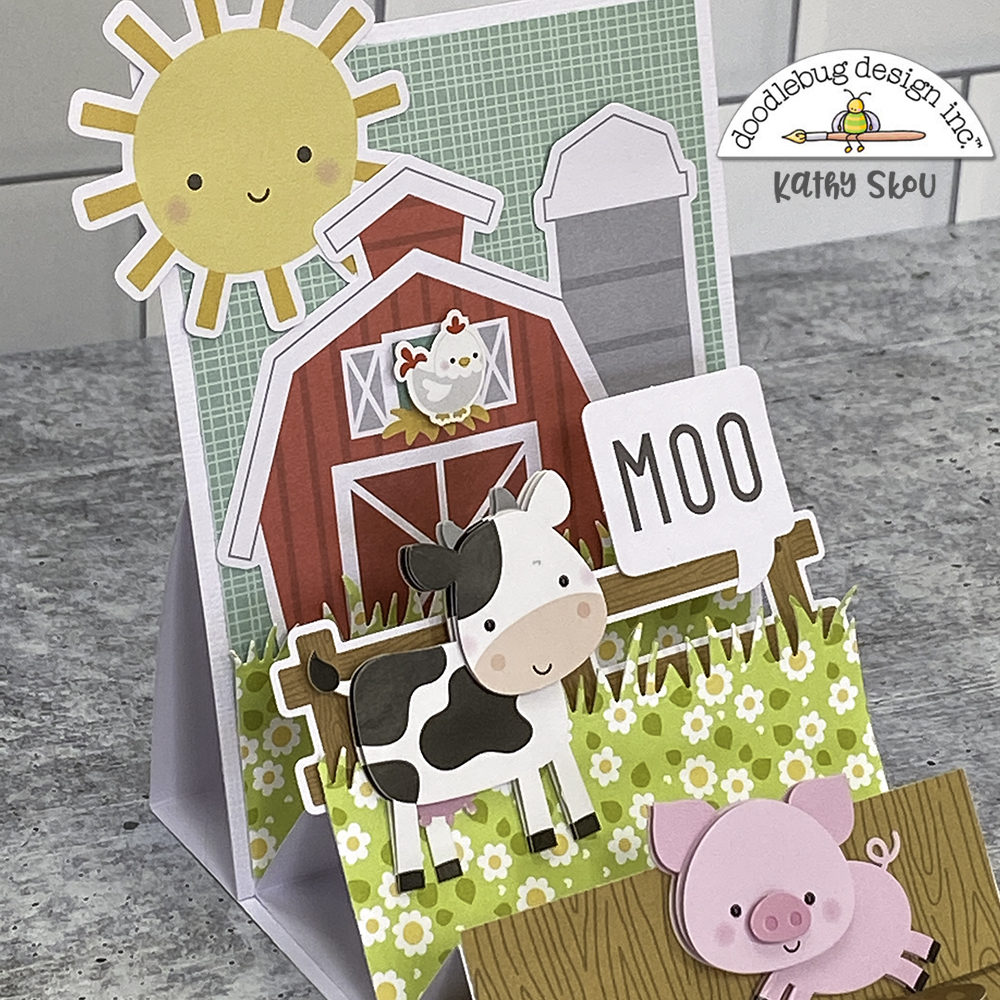
I love making 3D cards.  It's always fun making little scenes using Doodlebug's icons... whether it be with the Icon Stickers, Mini Icons or Odds & Ends.  I found a new (to me) style of card recently... the triple easel card.  I immediately thought that it would be the perfect way to display some of the Down on the Farm cuties!  Take a peek...


The fun thing about this style of card is that at first, it looks like a basic A2 card....but then you open it and.... voilà!  You have an entire scene!


I started with the barn and sun from the Odds & Ends for my main backdrop.  I added the adorable chicken up in the loft from the Icon Stickers.  Next I added a fence from the Odds & Ends and the What's Moo cow Doodle Pop.  Yes, don't faint... I used a Doodle Pop! No worries, I have duplicates, lol.  Of course he's saying "moo" with the speech bubble from the Chit Chat pieces.


For my final tier, I used another Doodle Pop!  That little piggy is too cute!  I popped up his mud puddle to hold up the tier.  Here are some more close-ups....


There are tons of triple easel card tutorials online if you search.  I combined a few, and basically made my own measurements so the card would fit my needs.  They really are easy, and so fun to display!  That's it for me today, thanks for stopping by to peek!


DOODLEBUG PRODUCTS USED

Down on the Farm Collection
Down on the Farm Coordinating Petite Prints

OTHER

Lawn Fawn Grassy Border Die
White Cardstock
Pop Dots, Adhesive