Showing posts with label Advent Calendar. Show all posts

Monday, December 12, 2022

Doodlebug Design | Candy Cane Lane Advent Calendar Train

Every year I love making a new Advent Calendar with Doodlebug's Christmas Collection.  This year I worked with Lori Whitlock to come up with this fun train SVG... and I'm so happy with how it turned out using the Candy Cane Lane Collection!  Take a peek...


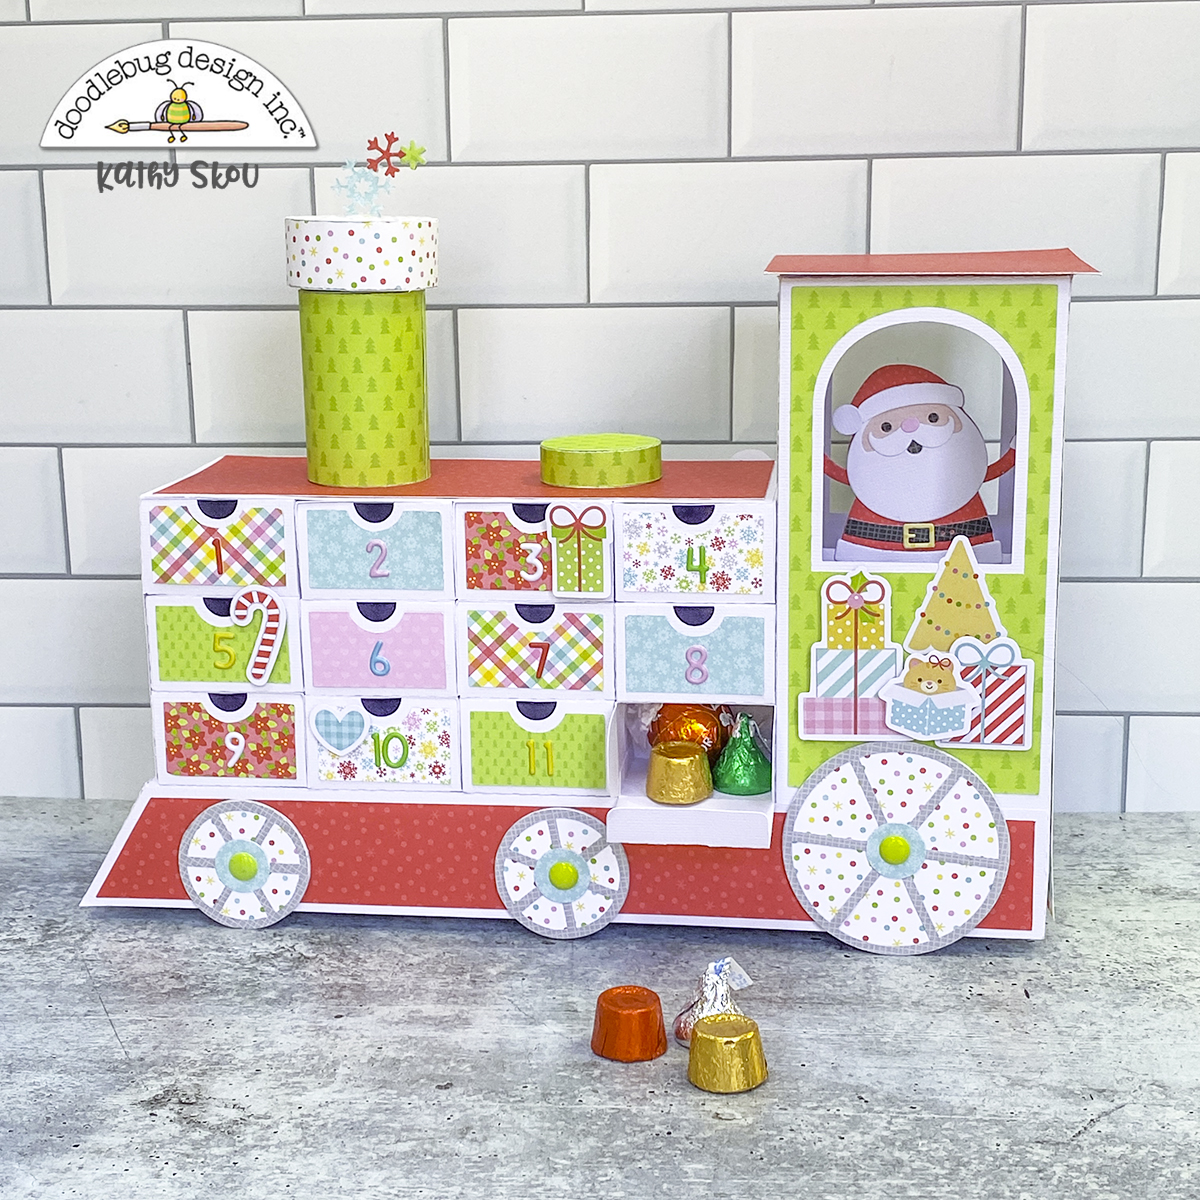
I started with this SVG file from Lori Whitlock.  I made the base of the train with white cardstock.  I then started decorating with the papers and embellishments from Candy Cane Lane.


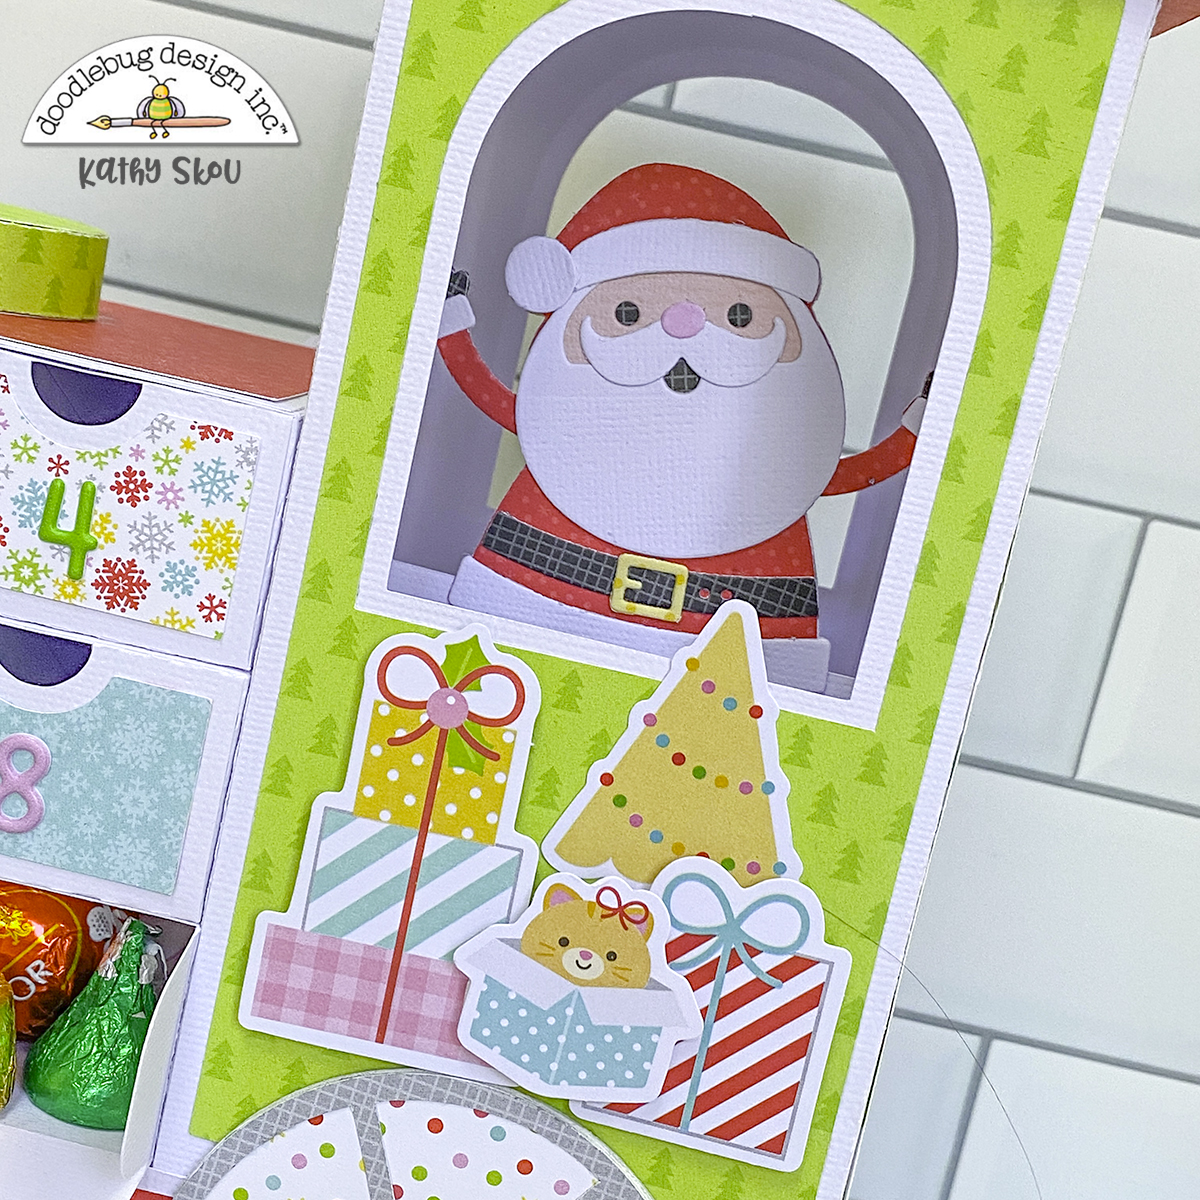
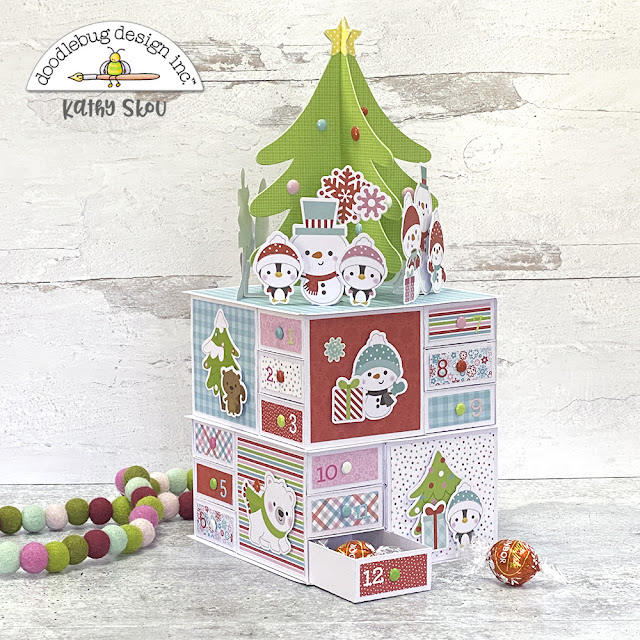
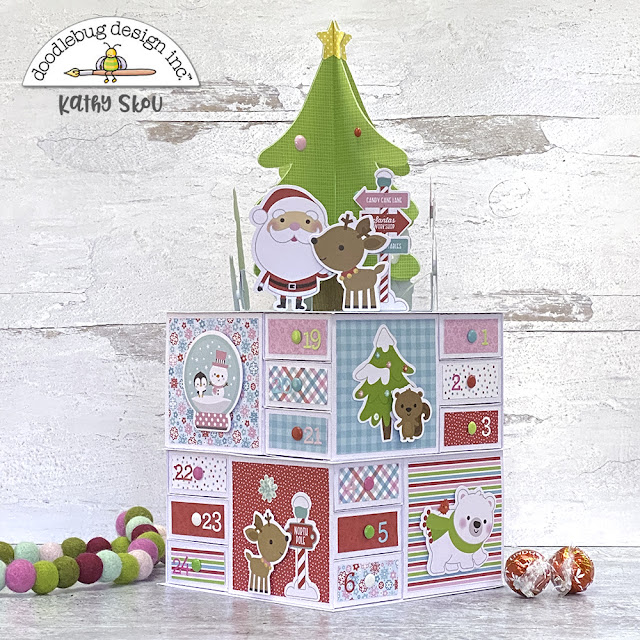
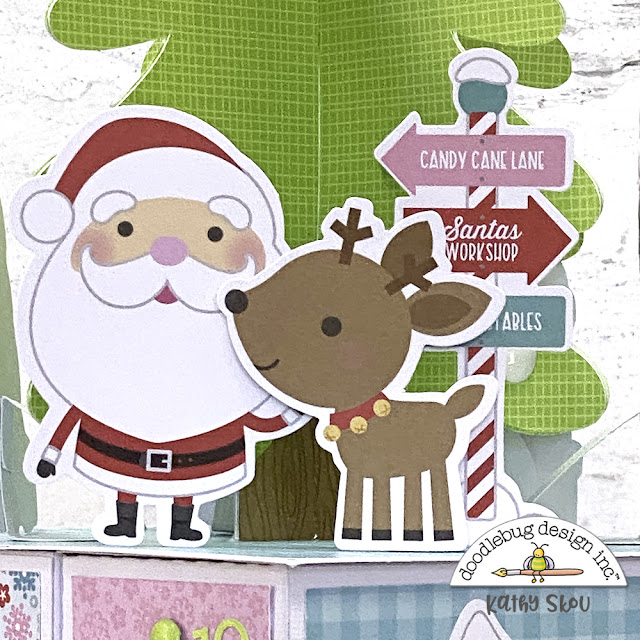
I made Santa the conductor, of course!  I used the Sweet Santa Stand Alone Doodle Cuts to make him.  I also decorated the sides of the conductor's box with cute presents from the Odds & Ends.


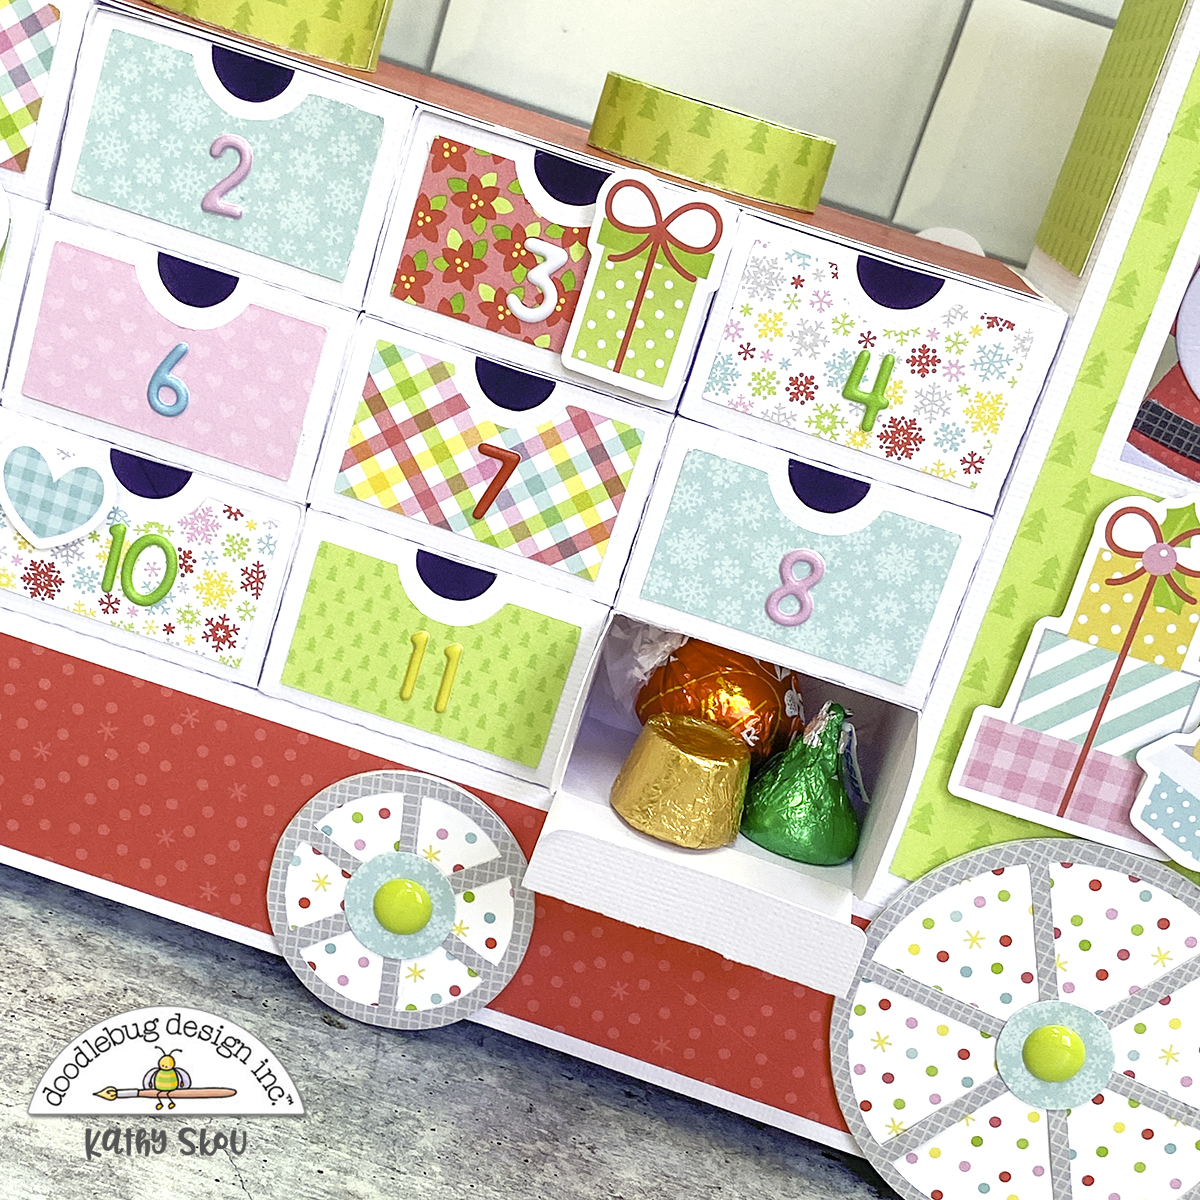
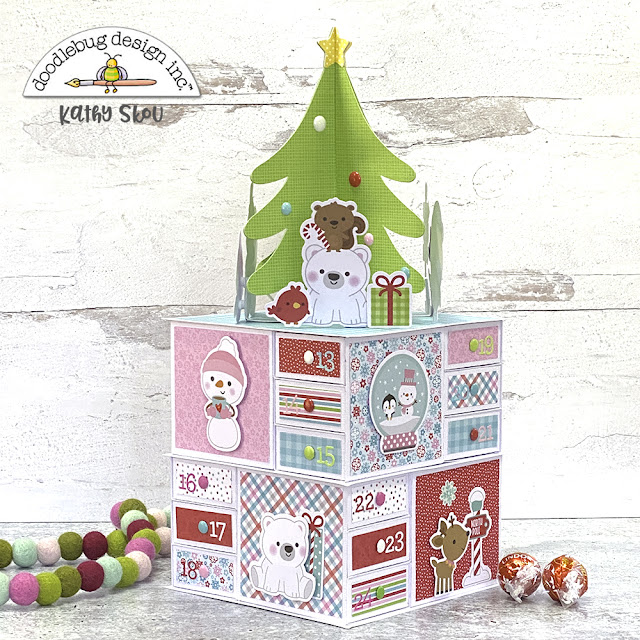
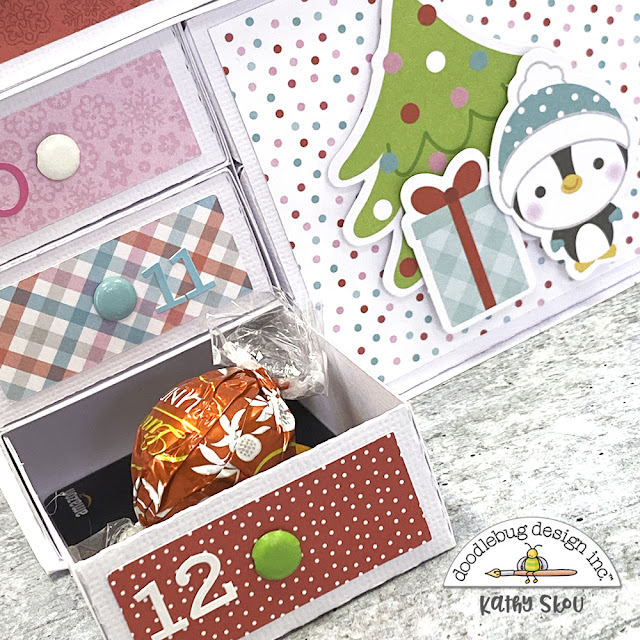
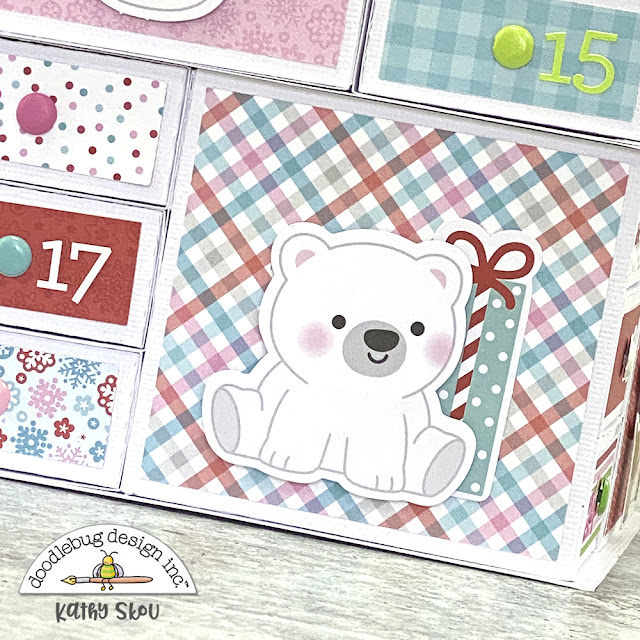
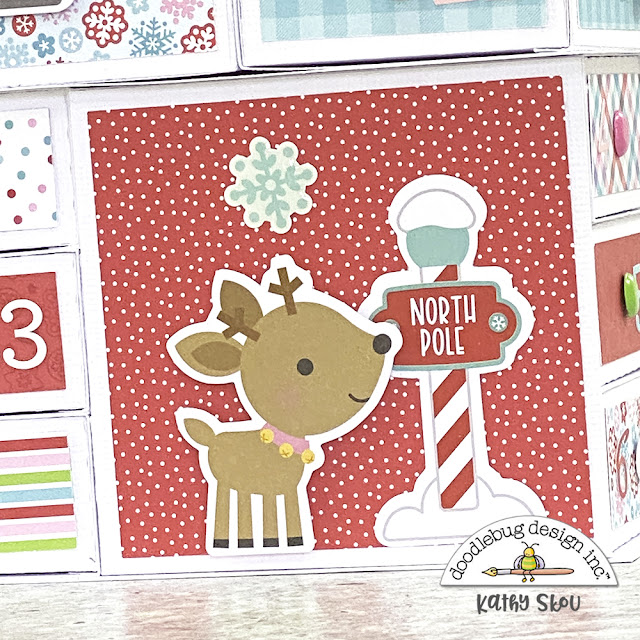
I covered each of the 24 boxes with papers from the 6x6 pad.  I used the new Alphabet Soup Puffy Stickers to number my boxes.  The wheels also have some sprinkles in their centers.  To embellish a bit more, I added more Odds & Ends to some of the boxes.  The boxes are a good size I could fit 3 candies in each.


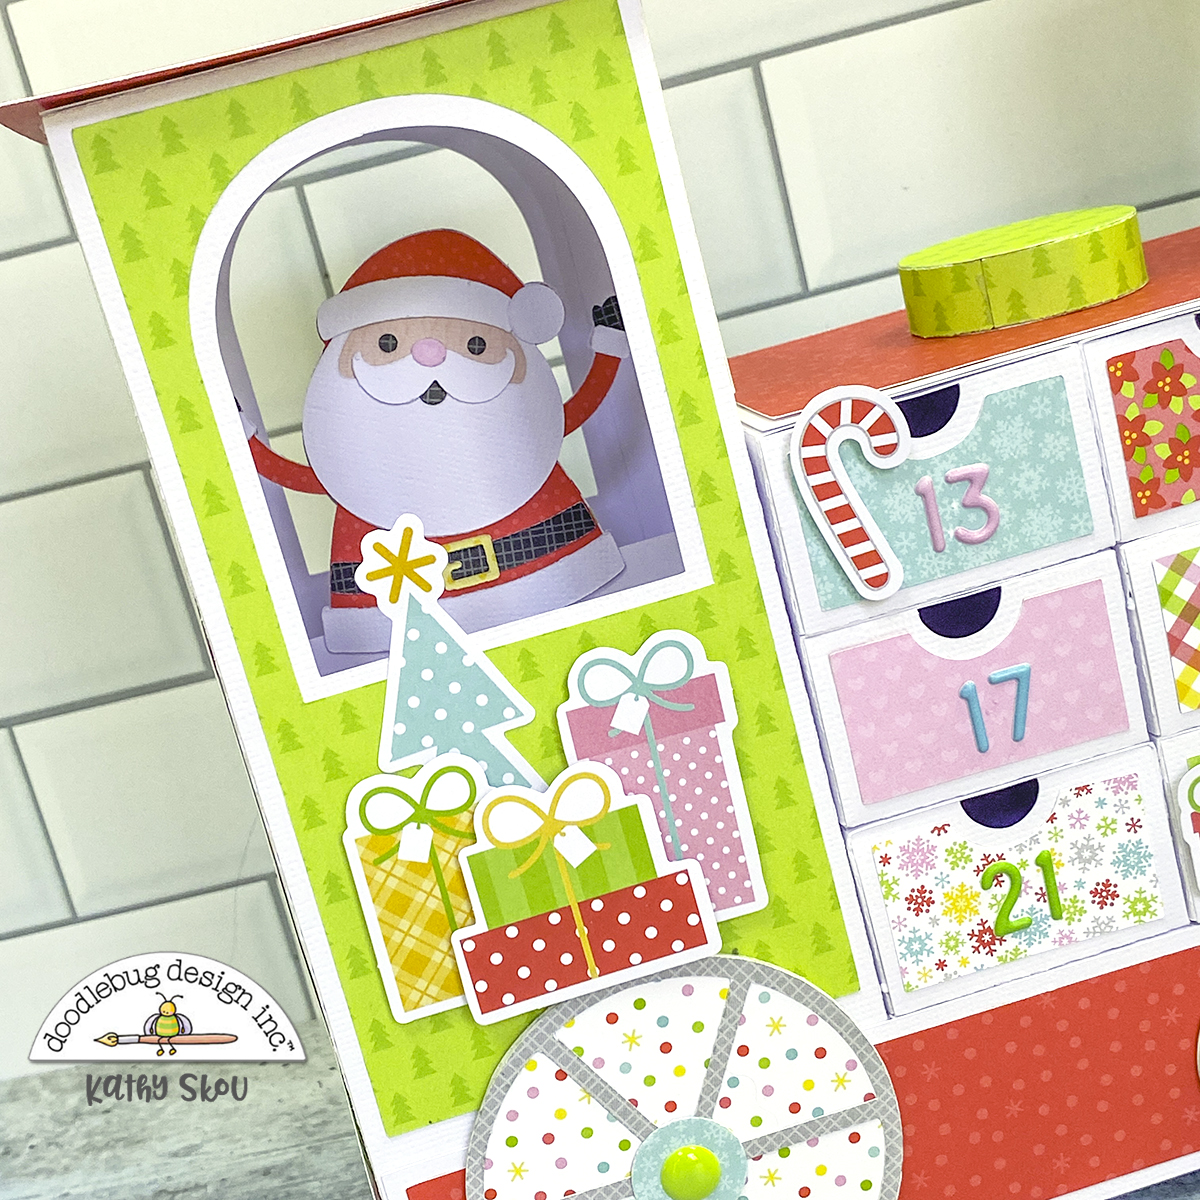
The other side of the train was decorated in the same manner.  I have a fun trick I used to make my Santa show the same from both sides of the train... I cut one Santa and all his pieces from  my papers.  Then, I turned those papers over and cut a second set of pieces.  This gives you a mirror image of your first set to glue back to back so you can have him look the same on both sides!


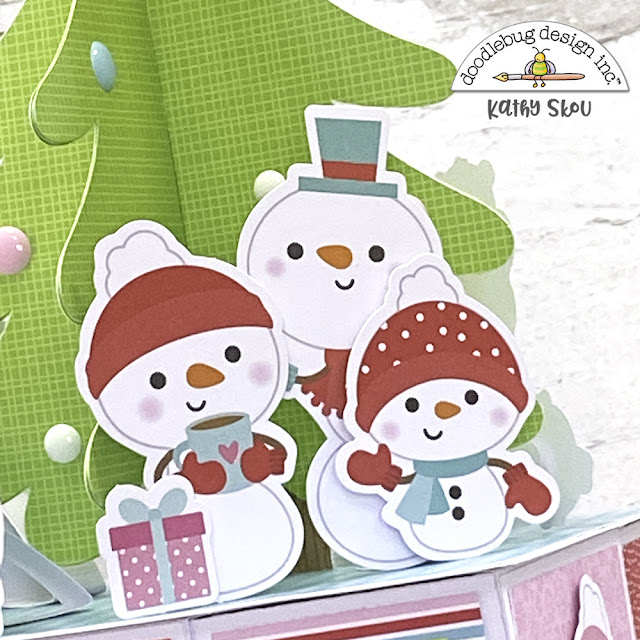
The front of my train was decorated with a star from the icon stickers sheet and I made some snowflake "smoke puffs" using the snowflake dies in the Snow Cute Stand Alone Doodle Cuts.

Luckily I didn't eat all the candy before it was time to fill the boxes!  That's it for me today, thanks for stopping by to peek!


DOODLEBUG PRODUCTS USED

Candy Cane Lane Collection
Sweet Santa Stand Alone Doodle Cuts
Snow Sweet Stand Alone Doodle Cuts
Petite Prints
Alphabet Soup Puffy Alphabet Stickers

OTHER


Monday, December 13, 2021

Doodlebug Design | Let it Snow Advent Calendar

I love making Advent calendars.  Every year I make one with my Doodlebug Christmas goodies!  I put this fun one together using the Let it Snow Collection... Take a peek....

To create the calendar, I combined two different files that are available in the Lori Whitlock SVG Shop.  I started with this file as the base with the 24 drawers.  I then resized and added the tree from the Christmas Tree Gifts calendar I created last year.  All that was left was to decorate with the fabulous papers and Odds & Ends in the Let it Snow Collection.


I used the 6x6 pad to cover the drawers and side panels.  I love the smaller prints!  There are so many cute icons in the Odds & Ends pack, I wanted to create little scenes that could be seen on every side of the calendar.  I made some to sit around the tree... propping them up with a little easel, and then more on each of the sides... 


Each of the drawers is big enough to hold a gift card or some special treats!  It's perfect if you have more than one little elf who likes to open the daily advent drawer, as it fits quite a bit!  For my drawer pulls I used some chunky brads and I used some My Type Alphas to number each drawer.  


Here are some close-ups of all the little scenes....


I really had fun putting this all together!  If you've made something with the Let It Snow Collection, be sure to tag Doodlebug Design on Facebook and Instagram!  We always love to see your creations!  That's it for me today, thanks for stopping by to peek!


DOODLEBUG PRODUCTS USED

Let it Snow Collection
Chunky Brads
Petite Prints
My Type Alphas

OTHER


Monday, November 30, 2020

Doodlebug Design | Night Before Christmas Advent Calendar

Every year I try to come up with a new and fun Advent Calendar for the holiday.  We always enjoy opening a new treat each day as we count down to Christmas.  This year while searching Pinterest, I found a wooden calendar with a tree and small gifts to hold some goodies.  I decided it would be fun to create one made from Doodlebug's Night Before Christmas Collection.  I set to work and created my own paper version... take a peek...


I started with some Gingham Linen Petite prints and some chipboard to make my tree.  I glued the tree to a circular base, made from some chipboard and the red side of the Jolly St. Nick Cardstock.  I decorated the tree with strands of sprinkles and the Twinkle Light Shaped Sprinkles...they were perfect!


I made 24 little boxes.  I added mini brads to help pull them open and numbered them using the Sunshine Alphabet Stickers.  All that was left was to embellish the boxes some more.  I used some toys and gifts from the Odds & Ends Pack.  Here are some close-ups of all of the boxes...


My favorite is the little kitty on top of the boxes, because let's face it, that's exactly what they do when they are not climbing the tree!  Each box is about 1.7" cubed so they are the perfect size for a chocolate or 2!

I created a cut file for this project and it is currently available in the Lori Whitlock SVG Shop here.  It will also be coming to the Silhouette Store.  There is a quick tutorial in Lori's shop on the product page.  Be sure to come back to the blog for the next couple of weeks for more Night Before Christmas inspiration!  That's it for me today, thanks for stopping by to peek.

DOODLEBUG PRODUCTS USED
Night Before Christmas Collection
Gingham Linen Petite Prints
Dot Stripe Petite Prints
Twinkle Light Shaped Sprinkles
Christmas Assortment Sprinkles
Sunshine Alphabets
Tiny Brads

OTHER
Silhouette Chipboard
Silhouette Cameo
liquid adhesive
foam tape

Monday, November 18, 2019

Doodlebug Design | Christmas Magic Gingerbread House Advent Calendar

Have you ever seen something in a store and said to yourself, "I could totally make that...?"  I always say this, but do I ever really make these items... not so much!  This year I saw the cutest Advent Calendar in a popular home furnishings catalog.  It was a "mountain" of little houses one for each day of December ...all lit up.  I decided I would make a Gingerbread House version using Doodlebug Design's Christmas Magic Collection!  Take a peek...


This was so a labor of love, but I'm thrilled with the results.  I started by making 25 of the little houses from some Kraft Petite Prints.   I thought they looked like gingerbread!  I added the little roofs using the papers from the Christmas Magic 6x6 pad.  I then set to decorating each of the houses using some Christmas Magic Doodle pops, Icon Stickers, Mini Icon Stickers and some of the Shaped Sprinkles.  Here are some close-ups of the individual houses...


For the doors I used Sprinkles Vellum.  The doorknobs on all of the houses are Peppermint Twist Shaped Sprinkles and the numbers are the Abigail Alphabet Stickers.   The layers between the houses were made from some Lily White Sugar Coated Cardstock.  All of the houses are "velcro'd " on so I can easily disassemble and pack away after the holidays.  To light it up, I added some remote control tea lights behind the houses... they're perfect because they don't get hot!  Even better, the doors of each of the houses open to hold a little treat!


Have you made any projects using Christmas Magic?  Be sure to tag Doodlebug Design on Facebook & Instagram!  We would love to see your creations.  That's it for me today, thanks for stopping by to peek!

Doodlebug Products Used
Christmas Magic Collection
Dot Stripe Petite Prints
Gingham Linen Petite Prints
Floral Graph Petite Prints
Sprinkles Vellum
Sugar Coated Cardstock
Abigail Alphabets


Monday, November 12, 2018

Doodlebug Design | Christmas Town Advent Calendar

The holidays are upon us!  I was so excited to see the new  Doodlebug Design Christmas Town Collection... the little characters and icons are too cute! I thought they would be adorable as part of an Advent Calendar... so I decided to make one!   I worked with my Silhouette Model Maker Software and designed my first SVG file!  I work for Lori Whitlock so she helped me to fine-tune the details.  I'm so happy with the results, and it's even cuter using the new Christmas Town Collection!  Take a peek...


For the tree base and star I used some new Dot-Stripe Petite Prints in Grasshopper and Lemon.  I added the little pockets using some of my favorite patterned papers from the Christmas Town collection including the Festive Flurry, Christmas Cookies, Snow Much Fun, Christmas Jammies, Berry Christmas, and Merry Hearts.  I then decorated each pocket using the Icon Stickers Sheet, Mini Icons, Baby Hearts Shape Sprinkles, Holly Berries Shape Sprinkles, and Festive Flurry Shape Sprinkles.  Here are some close-ups of the pockets...


It's going to be so fun to countdown with this sweet {literally lol} calendar! The tree file is available in the Lori Whitlock SVG Shop and will be available in the Silhouette Store Soon!   Be sure to stop by the Doodlebug Design Blog all week for more Christmas Town Inspiration from the Design Team!  That's it for me today, thanks for stopping by to peek!


Sunday, October 1, 2017

Doodlebug Design: Milk & Cookies Advent Calendar

Hi Everyone! Today I'm on the Doodlebug Design Blog kicking off a couple of weeks of projects featuring the  ADORABLE Milk & Cookies Collection!  Take a peek...


I started with the flannel jammies double-sided cardstock.  This paper made this project so easy! 

I then cut 26 of these boxes from Lori Whitlock (available here in the Silhouette Store)  using some Maple Gingham Linen Petite Prints.  You can fit two of these on one 12x12 page, so there's very little paper waste and they go together quickly!  I then set to decorating the boxes using the countdown squares and other papers from the collection.  Here are some close-ups....


The great thing about these boxes is that they're big enough to hold a number of items which comes in handy if you have more than one kiddo!


I added some additional embellishments to some of the boxes using the Glitter Sprinkles, Shaped Sprinkles, Odds & Ends and Doodle Pops


Here is the view from the back.  I can't wait to fill it with goodies this year!  That's it for me today, thanks for stopping by to peek!